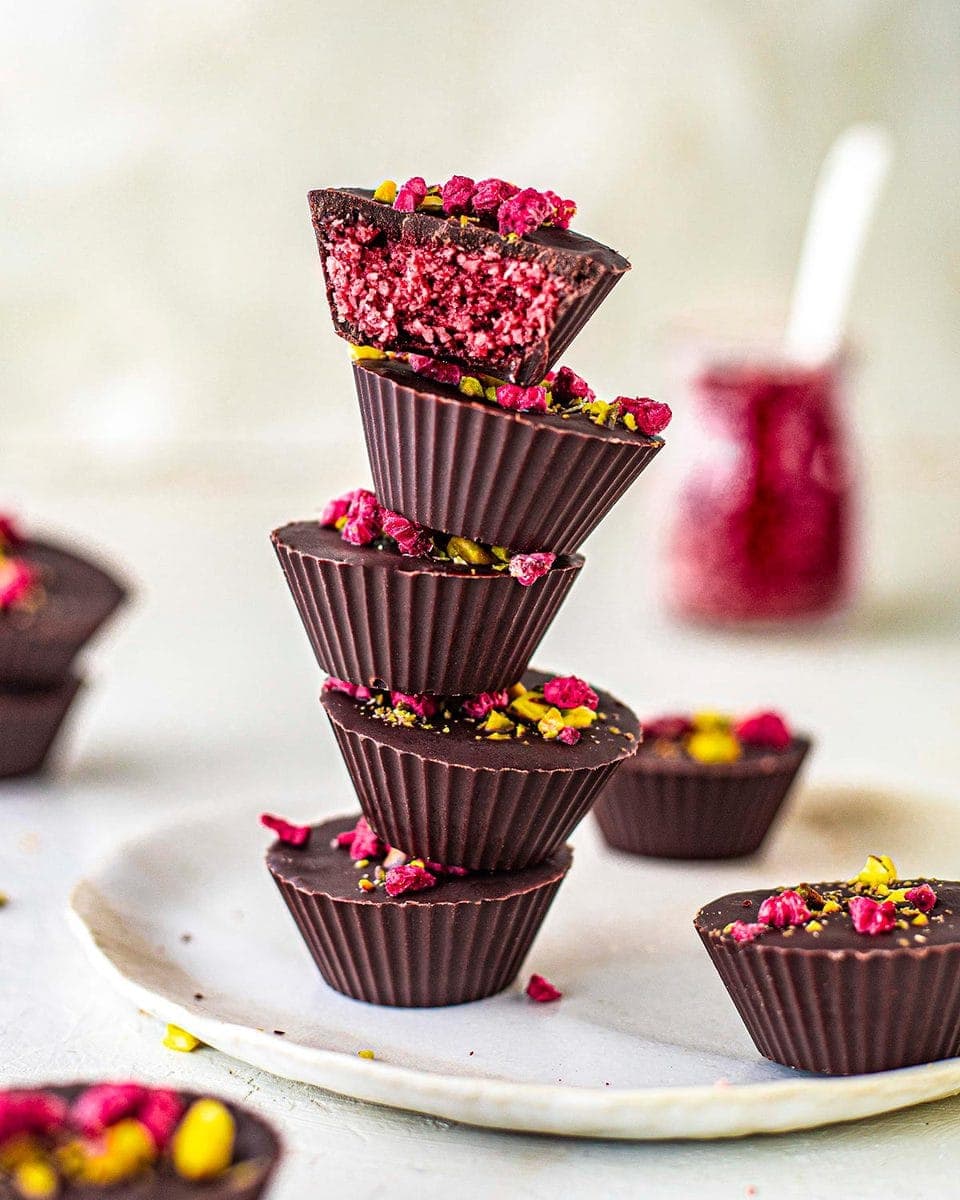
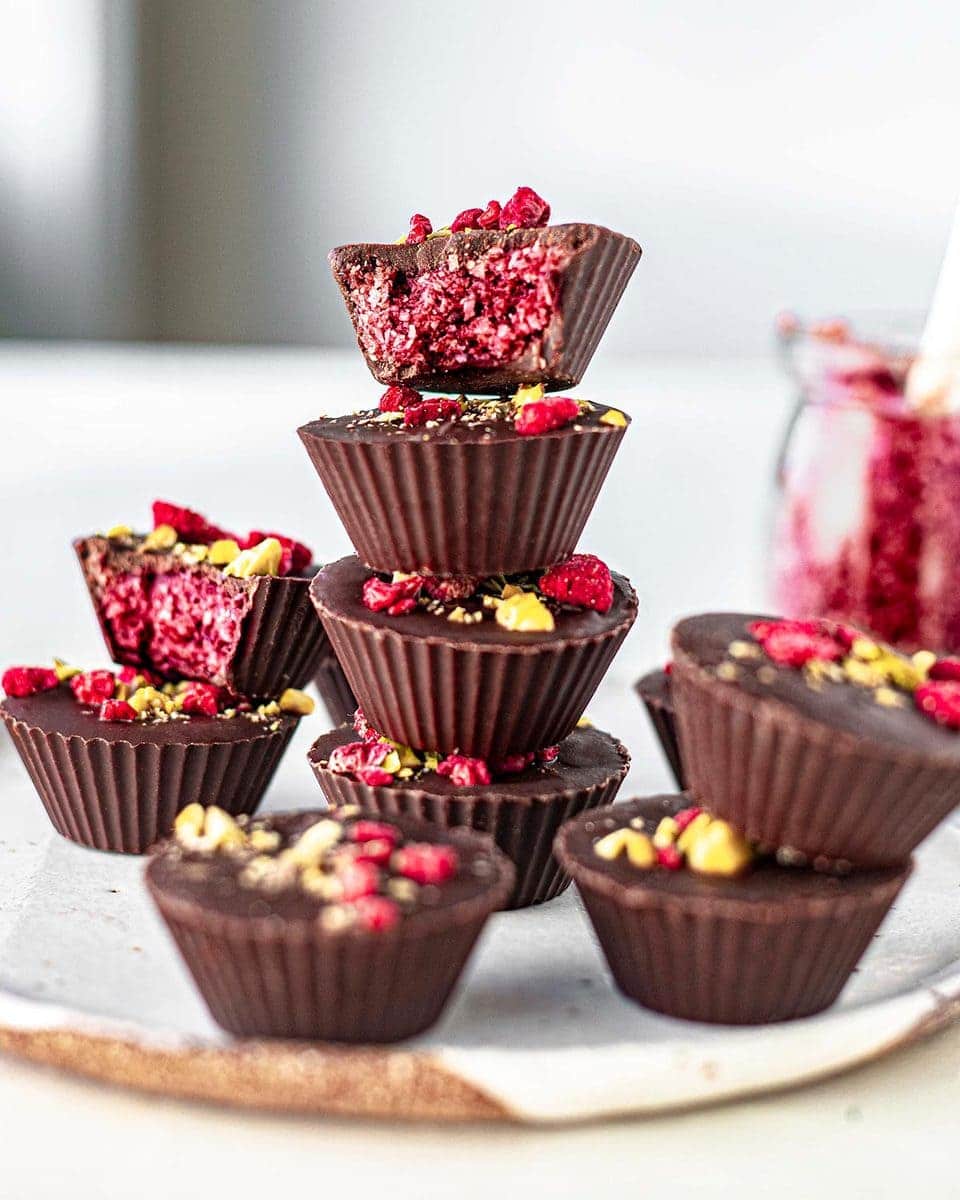
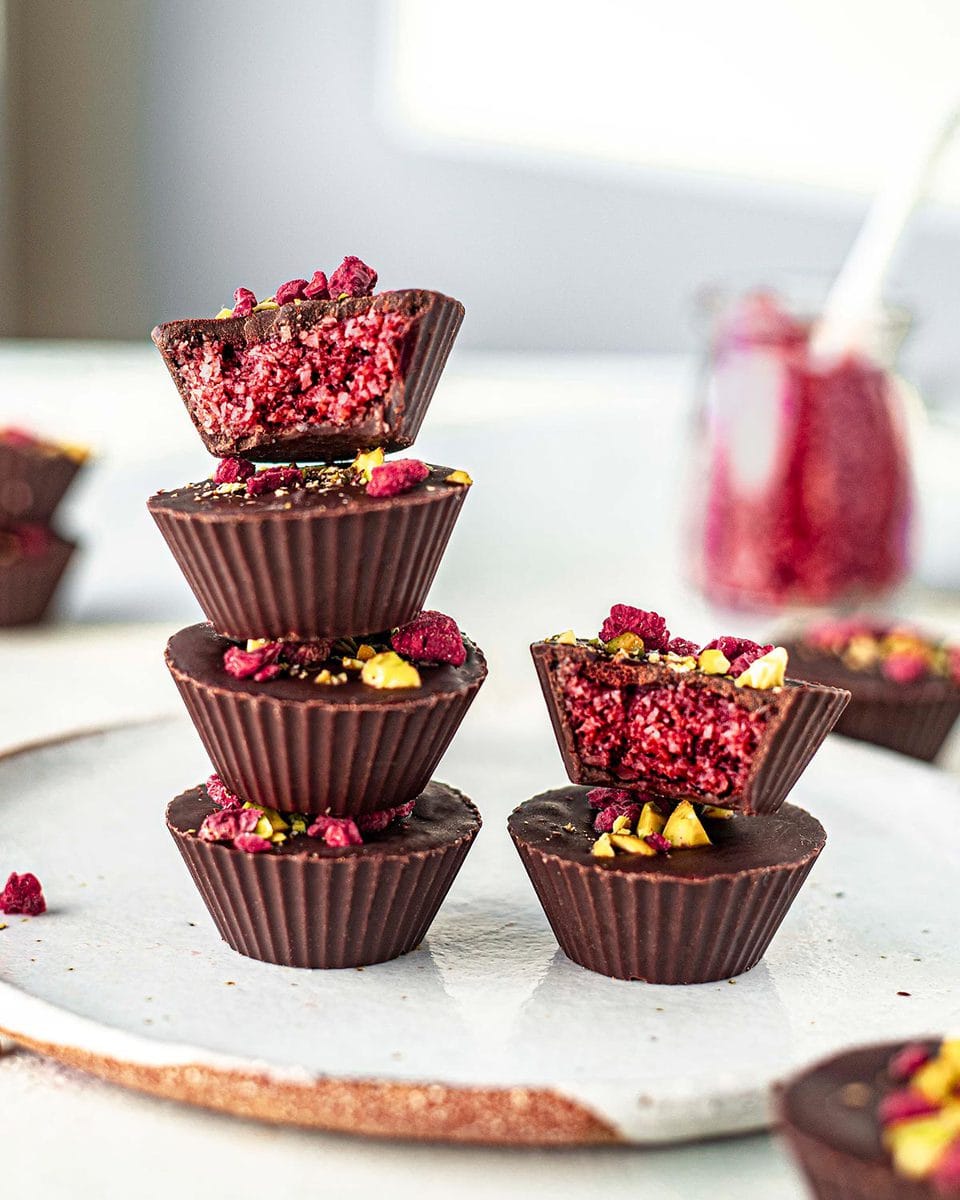
Vegan Cherry Ripe Cups
Vegan cherry ripe cups with a juicy cherry coconut filling and dark chocolate coating. 5 ingredients, the perfect bite size and can be stored at room temperature!
What is a Cherry Ripe?
The cherry ripe is a classic Australian chocolate bar found in almost every supermarket. The bar has a sweet cherry coconut filling encased by milk or dark chocolate.
I didn’t like cherry ripes when I was a young kid as it has quite a strong flavour. However, my palette changed in my early teens and I’ve been hooked ever since! Conventional cherry ripes are not vegan but luckily they are quite easy to veganise!
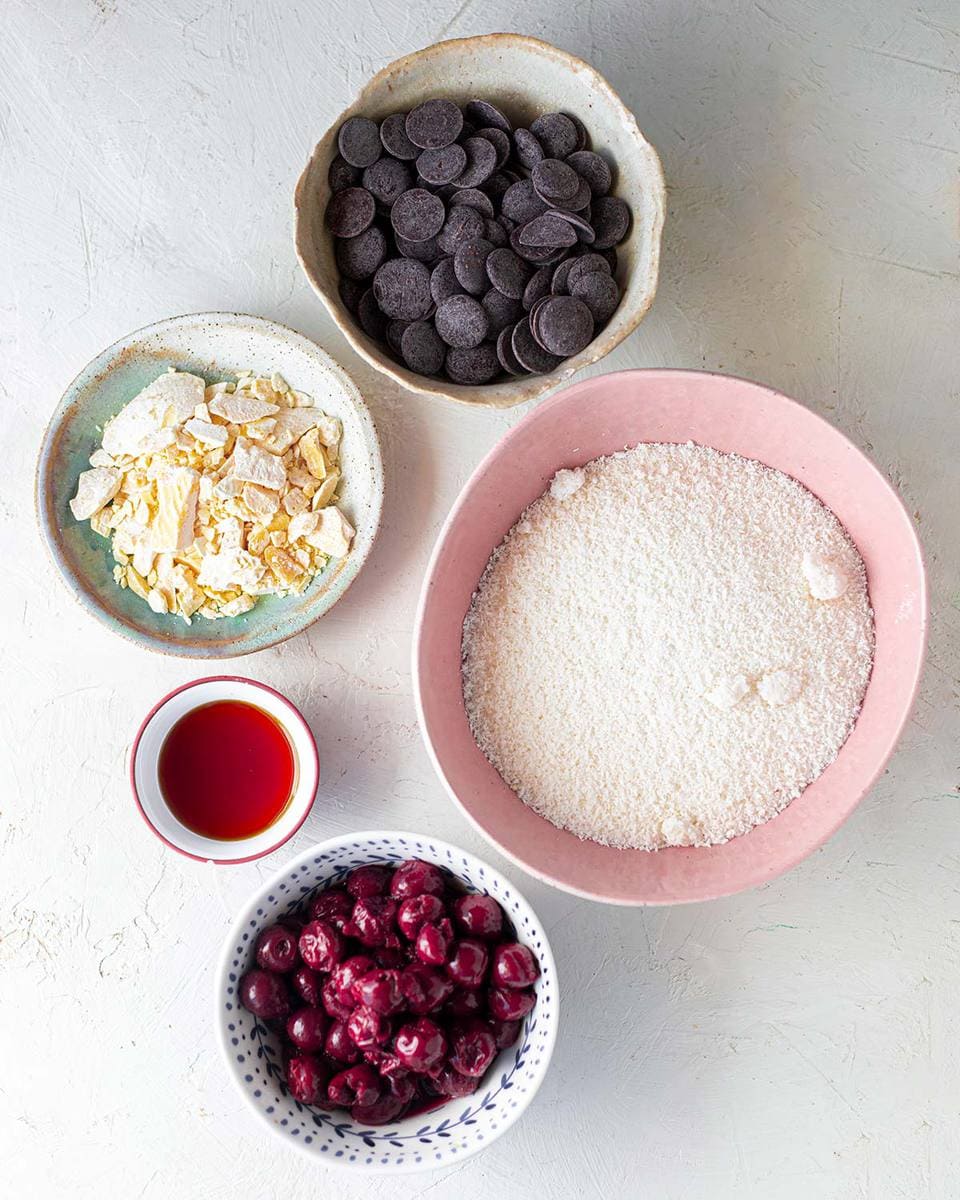
This recipe only uses 5 ingredients if you use store-bought chocolate ;).
Making the cherry coconut filling
Cherry ripes have a strongly flavoured filling which you cannot get just from fresh cherries. We can use dried cherries or glace cherries but let’s be honest – they are either expensive or taste gross.
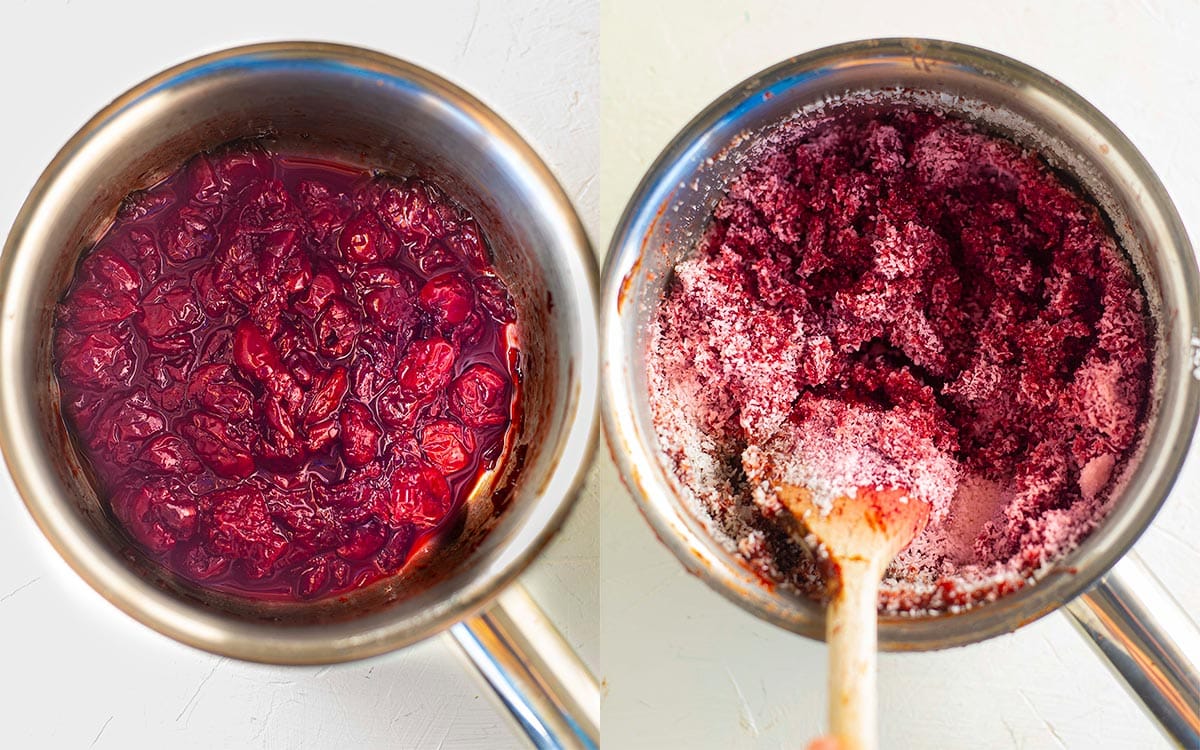
I have a trick to deepen the flavour of fresh or frozen cherries in just 5 minutes!
All you need to do is place the cherries in a small pot over medium heat. Add a dash of water and simmer for 5 minutes or until it forms a thick jam-like consistency, like the picture on the left below. Cooking the cherries encourages a lot of the juice to evaporate and intensifies its flavour.
Then simply add the cacao butter/coconut oil, dessicated coconut and sweetener. Mix until combined!
Making vegan chocolate from scratch (optional)
These days, it’s easy to get vegan-friendly chocolate from the shops. Alternatively, if you’re keen to make your own chocolate, I’ve included a recipe below :).
I know there are HEAPS of ‘magical’ 3-ingredient chocolate recipes online. Many of those recipes use coconut oil which I find unpleasant. If I want chocolate, I don’t want it to taste coconut… even if it’s in a cherry ripe recipe!
Instead of coconut oil, I highly recommend using cacao butter. It’s the magical ingredient which makes home-made chocolate taste like the stuff you get from the shops.
In cooking, cacao butter has several benefits:
- It has a higher melting point than coconut oil so you can leave the chocolate out at room temperature (unless it’s a very hot Summer day)
- Cacao butter doesn’t taste like coconut
- It provides chocolate a unique richness that cannot be replicated by other ingredients.
I would not recommend adjusting the ingredients for the chocolate below. Making chocolate is a science and changing the quantities may mean your chocolate will not set.
Assembling the vegan cherry ripe cups
Once you have melted or made your vegan chocolate, allow it to thicken slightly. Chocolate that is too warm will be too thin to efficiently coat the cups. Chocolate that is too thick will be difficult to handle.
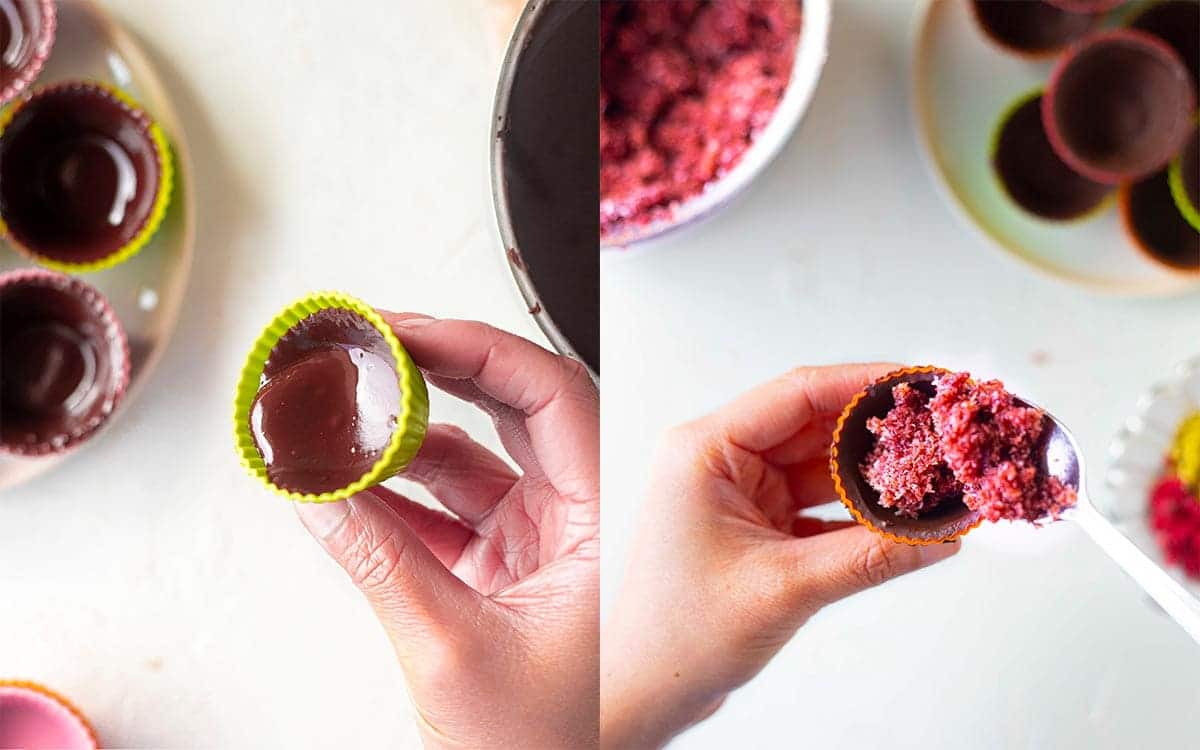
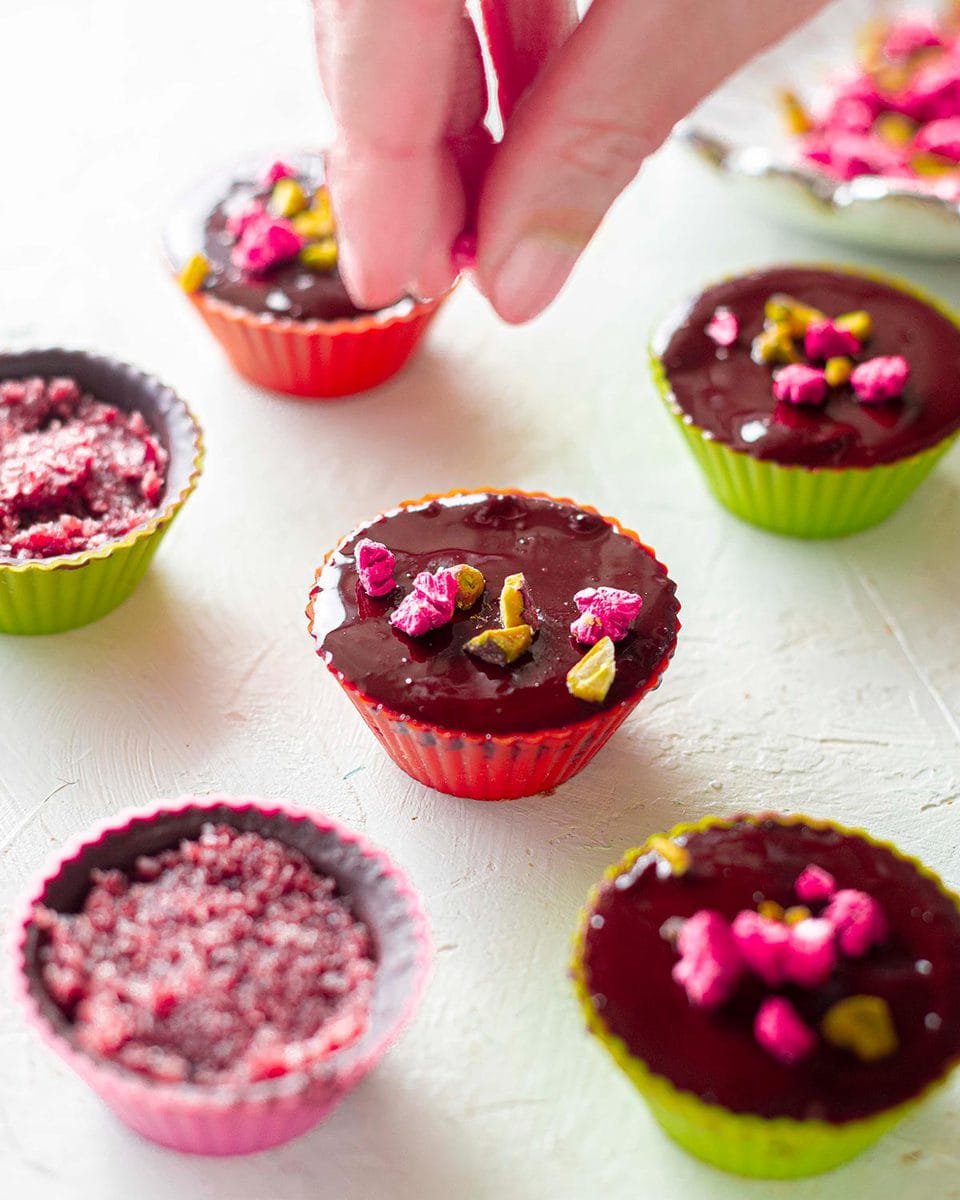
Dollop the melted chocolate into some mini silicone cups then twirl the cups (like the picture on the left above). This encourages the chocolate to spread inside the cup. You can also use the back of a spoon to spread the chocolate inside the cup!
Place the silicone cups in the fridge to set. Then spoon in some of the cherry coconut filling. Don’t fill the cups to the top – you want to leave some space for the chocolate on top!
Cover the cups with the remaining chocolate and decorate them if desired. Set the cups in the fridge until they are firm. Carefully remove the silicone cups then ENJOY!
How can I serve or enjoy these cherry ripe cups?
The cups are versatile and can be enjoyed for many ocassions, such as:
- a snack in your own privacy 😉
- nibbled as an after-dinner dessert
- a movie snack
- for a DIY high-tea with your friends
- as an on-the-go snack (as the cups can be kept at room temperature)
- or you can wrap up the cups and give them to a loved one at Easter, Christmas or whenever!
More no-bake desserts


For something fancier, check out my black forest trifle!
Follow Rainbow Nourishments on Instagram, Facebook, TikTok and Pinterest, and subscribe via email to receive all of our latest recipes!
Vegan Cherry Ripe Cups
Ingredients
- 2 cups (340g) roughly chopped vegan chocolate or chocolate chips, melted (dark or milk slightly sweetened, note 1)
- 2 tablespoons (30g) cacao butter, or coconut oil
- 1 ½ cup (225g) pitted cherries, fresh, frozen or unsweetened canned (note 2)
- 1 ½ cup (120g) desiccated coconut / fine shredded coconut
- 3 tablespoons (65g) maple syrup or rice malt syrup, to taste
Instructions
To prepare the chocolate
- Melt the chocolate and half the cacao butter in a double boiler or small saucepan over low heat. When the chocolate has fully melted, remove it from the heat.
- Allow the chocolate to cool until it is the consistency of thin cream or it leaves a “ribbon” when you drizzle it. Pour about 1-2 teaspoons of chocolate into a small silicon cupcake mould. Gently rotate the cup or use the back of a spoon to coat the sides of the cup with chocolate. Make sure the bottom and sides are covered in adequate chocolate; otherwise, the cup will break. Repeat for the remaining cups and set aside in the freezer.
To make the cherry filling:
- Place the cherries in a small saucepan with a dash of water over medium heat. Cook for 5 minutes or until the cherries break down and form a jam-like consistency. Use a stick blender to blend until there are no big chunks. Mix in the coconut, sweetener and cacao butter/oil.
- When the chocolate in the moulds have set, remove from the freezer. Carefully spoon the cherry mixture into the cups, leaving a small gap at the top.
- Pour the remaining melted chocolate on top of the cherry mixture. Decorate if desired.
- Return the cups to the freezer or fridge for at least 1 hour or until the chocolate is set. Remove the cups from the moulds and enjoy!
- The cups can be kept in an airtight container at a cool room temperature for a few days. Otherwise the cups can be kept in an airtight container in the fridge for up to 1 week or in the freezer for up to 2 months.
Notes
- To make your own chocolate, add 1 cup (220g) chopped cacao butter, 1/2 cup (40g) raw cacao or cocoa powder) and 1/4 cup (80g) maple or rice malt syrup to a small saucepan. Melt and mix well until combined. Use it in the recipe as needed.
- Make sure your cherries are SWEET and not SOUR… unless you like sour desserts ;).
This post was originally publised in October 2018 but updated in June 2020.
This post may contain affiliate links. As an Amazon Associate, I may earn a small commission from qualifying purchases at no additional cost to you.

I need to make dairy free/ gluten wedding cake. They want a cherry ripe mud and I wonder if I make these can I chop them up and put into the cherry ripe cake instead of the normal cherry ripe??
Ooh what an incredible cake! Yes, I’d say it would work :). If you are chopping them up, you can probably make the cups in bar shape (just pour and press the mixture in a slice tin instead). It’ll be easier if you have to make lots of them!
Where do I get the mold and what’s the name of it.
I got the mini cupcake silicone molds from my local cake shop. I’ve added a link to where you can them online (see the recipe).
Can you use Powdered Erythritol instead of the syrup? If so how much would you recommend.
Hi LeeAnn. The syrup helps combine the ingredients. If you use powdered erythritol, you’d need to use more coconut oil and your cups won’t have the same texture. I can’t advise on the amount because I haven’t tested it.
Hi. Love your site! Im wanting to find out if the cherry filling above can be frozen and used at a later date? Thanks so much!
Aw thanks Nicole! Yes, the filling can be frozen and used at a later date 🙂