Vegan Chocolate Ice Cream (2 ingredients)
2 ingredient vegan chocolate ice cream which is so easy to make! This dairy-free frozen dessert is extremely creamy, uses no bananas and is nut-free. It takes only 10 minutes to prepare and you don’t even need an ice-cream maker!
Serve this ice cream with my flourless chocolate cake or use it in between chocolate chip cookies to make ice cream sandwiches!

This post is sponsored by Nature’s Charm. As always, all opinions are my own!
What you’ll love this ice cream
DIFFICULTY: Extremely easy to make with just 2 ingredients! For ease, I’d recommend using an electric hand mixer or a stand mixer for this vegan ice cream. However, you can still make it using a regular hand whisk and some arm powder.
TEXTURE: Extremely smooth and creamy and similar in texture to frozen custard. It’s creamier than most ice creams from the supermarket or even artisanal gelato shops. However, it’s not an overly ‘airy and fluffy’ ice cream (such as Halo Top).
FLAVOR: Very chocolatey! It reminds you of childhood as one of the main ingredients is chocolate fudge sauce.
Ingredients you’ll need

Notes about the ingredients
Dairy-free whipping cream is our ice cream base. I tested this recipe using full-fat canned coconut whipping cream which gave the final ice cream a smooth and luxurious mouthfeel.
I’d highly recommend Nature’s Charm coconut whipping cream which is extremely reliable and consistently whips up!
Dairy-free chocolate fudge sauce which adds sweetness and chocolate flavor. Its high sugar content keeps the ice cream soft and scoopable.
In other vegan ice cream recipes, dairy-free condensed milk is often combined with whipping cream to make an ice cream base. However, fudge sauce often has similar ingredients and properties to condensed milk so I’ve replaced one for the other. That means we also don’t have to add cocoa powder.
This recipe works best with a 1:1 ratio of cream to fudge sauce. The more cream we use, the fluffier the (unfrozen) final ice cream mixture will be. However, when we use more cream, the ice cream sets too firmly.
I haven’t tested this recipe with substitutions so can’t vouch for results.
The full list of ingredient quantities and instructions are in the recipe card at the bottom of this post.
How to make vegan chocolate ice cream
First, make sure your ingredients have been chilled overnight!
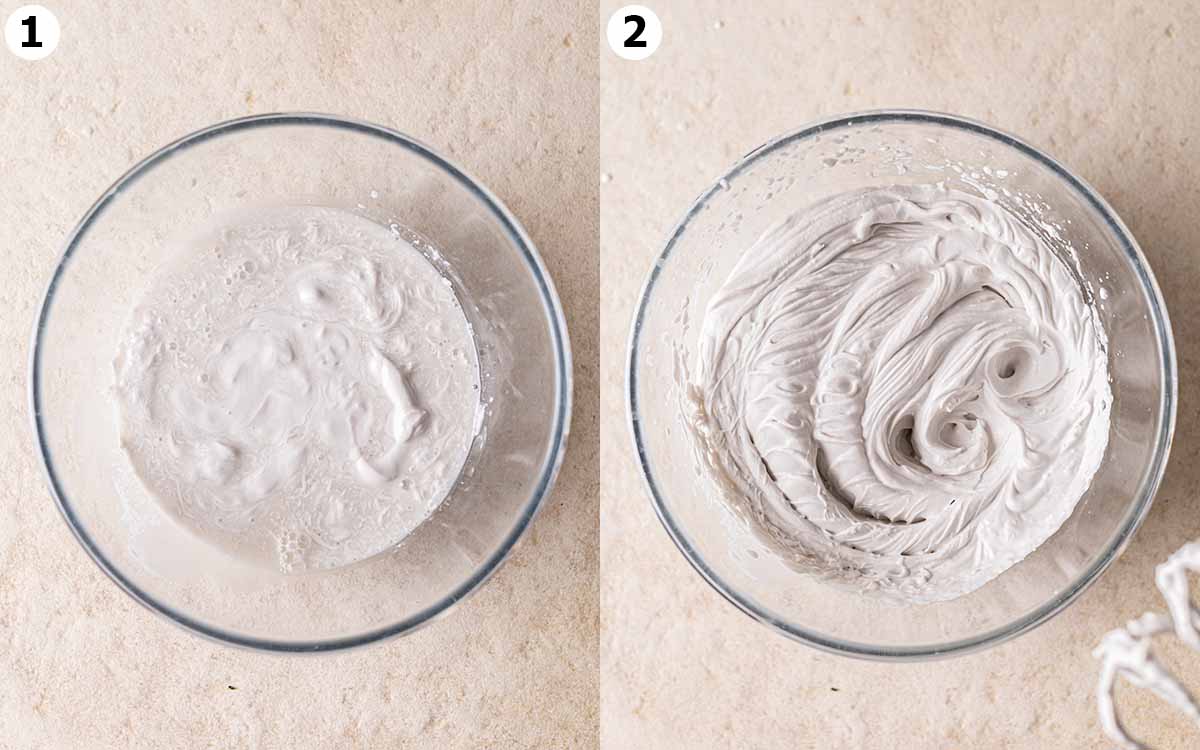
Add the coconut whipping cream to a large mixing bowl (if using electric hand beaters) or a stand mixer. Whip the cream until stiff peaks form.
In this step, we’re incorporating air into the cream which improves the mouthful of the final ice cream. Did you know that air usually makes up 30-50% of the total volume of ice cream?!
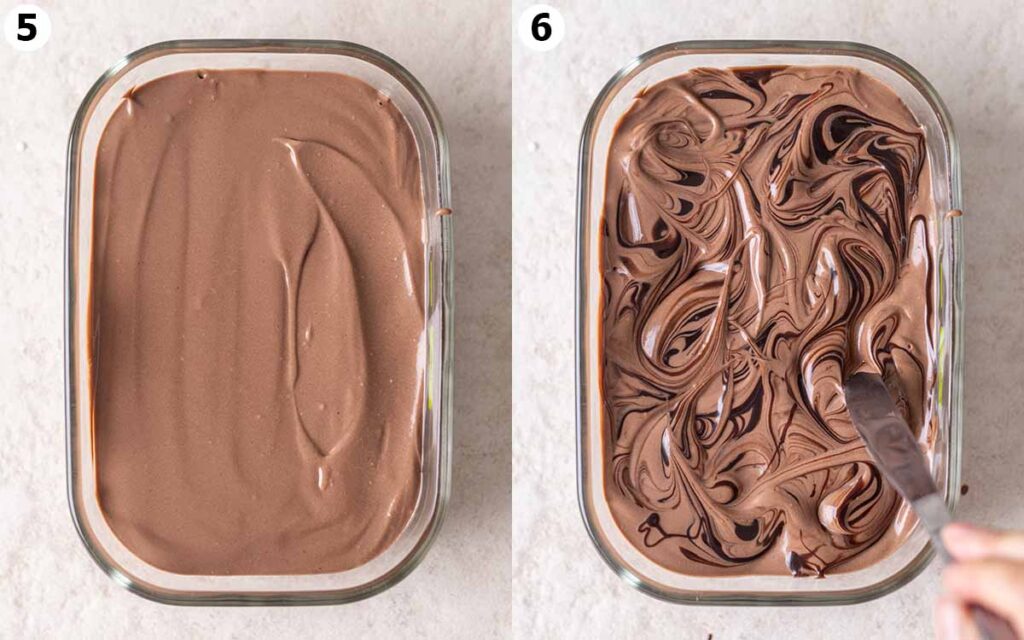
Then add the chocolate fudge sauce to the mixing bowl and gently fold the two ingredients together. The aim is to mix the ingredients as little as possible.
The whipped cream will definitely deflate but we want to keep the mixture as fluffy as possible. The final vegan chocolate ice cream mixture will be like a runny chocolate mousse.

Pour the ice cream mixture into a freezer-safe container. I used a glass container with a lid but a loaf tin will also work! For more ideas on how to store your ice cream, check out this post by The Kitchn.
If you have extra dairy-free chocolate fudge sauce, dollop and drizzle it on top of your ice cream. Then use a knife to create a marble pattern with the sauce and ice cream.
Tips for freezing your ice cream
The freezing time will depend on how you like your ice cream and how cold is your freezer.
For a soft-serve ice cream consistency, enjoy the ice cream after 4 hours of freezing.
For a standard firm ice cream, allow your chocolate ice cream to set in the freezer overnight. The ice cream can be enjoyed straight from the freezer. However, this will depend on how you whipped/folded your ice cream and the temperature of your freezer.
If your ice cream is too firm for your liking, simply let it defrost at room temperature for 10-20 minutes.

Customizing vegan ice cream
I think so! This will give you a lovely sweet caramel ice cream.
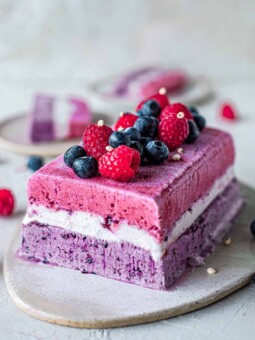
Yes, I think it would work well in an ice cream cake or as ice blocks.
To add flavor and improve the texture of the ice cream, you may add vanilla extract and a pinch of salt. According to David Lebovitz and McGill University, these ingredients soften ice cream and help prevent it from freezing into a solid brick.
For some delicious and fun add-ins, consider:
– Oreo cookies
– Chocolate chips
– Vegan chocolate chip cookies
– Frozen fruit

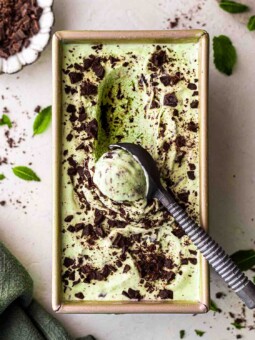
More vegan ice cream recipes


Follow Rainbow Nourishments on Instagram, Facebook, TikTok and Pinterest, and subscribe via email to receive all of our latest recipes!

Vegan Chocolate Ice Cream (2 ingredients)
Ingredients
- 400 g (15 oz) dairy free whipping cream, (I used Nature's Charm coconut whipping cream, note 1)
- 300 g (11 oz) chocolate fudge sauce, (I used Nature's Charm fudge sauce)
Instructions
- Add the dairy free whipping cream to a large bowl or stand mixer. Whip until stiff peaks form.
- Add the chocolate fudge sauce to the whipped cream. Use a spatula to gently fold together the ingredients until just combined. The mixture will deflate which is fine.
- Pour the ice cream mixture into a freezer-safe container or tin which you can cover with a lid. I used a 3 cup (750 mL) glass container but a regular 8 inch loaf tin will also work (note 2).
- Cover the ice cream and freeze for 4 hours or until firm to the touch.
- Serve and enjoy! The ice cream can usually be enjoyed straight from the freezer. However, if the ice cream is too firm, defrost for 10-20 minutes at room temperature until scoopable.
- Store the ice cream covered in the freezer for up to 2 weeks (though, it usually doesn't last that long)!
Video
Notes
- I’d haven’t tested this recipe using substitutes so can’t vouch for results.
- You may also use any plastic container with a lid, a pie pan or any baking pan which you can cover with a lid or food-safe wrap. Or if you have an old ice cream container, you can use that too!
This post may contain affiliate links. As an Amazon Associate, I may earn a small commission from qualifying purchases at no additional cost to you.

I recently got diagnosed with a milk allergy (hives and severe breathing issues) and am looking for substitute foods to replace my favourites. I don’t know what vegan fudge sauce is or how to make it. Could you list the ingredients or a link to the recipe?
Hi Kim, I used store-bought dairy-free chocolate fudge sauce (Nature’s Charm brand) and you can find the link where the ingredient is mentioned in the recipe box. It can be tough when you’re adjusting to a new diet but there are plenty of alternatives these days. If it helps, all of the recipes on my website are dairy-free 🙂