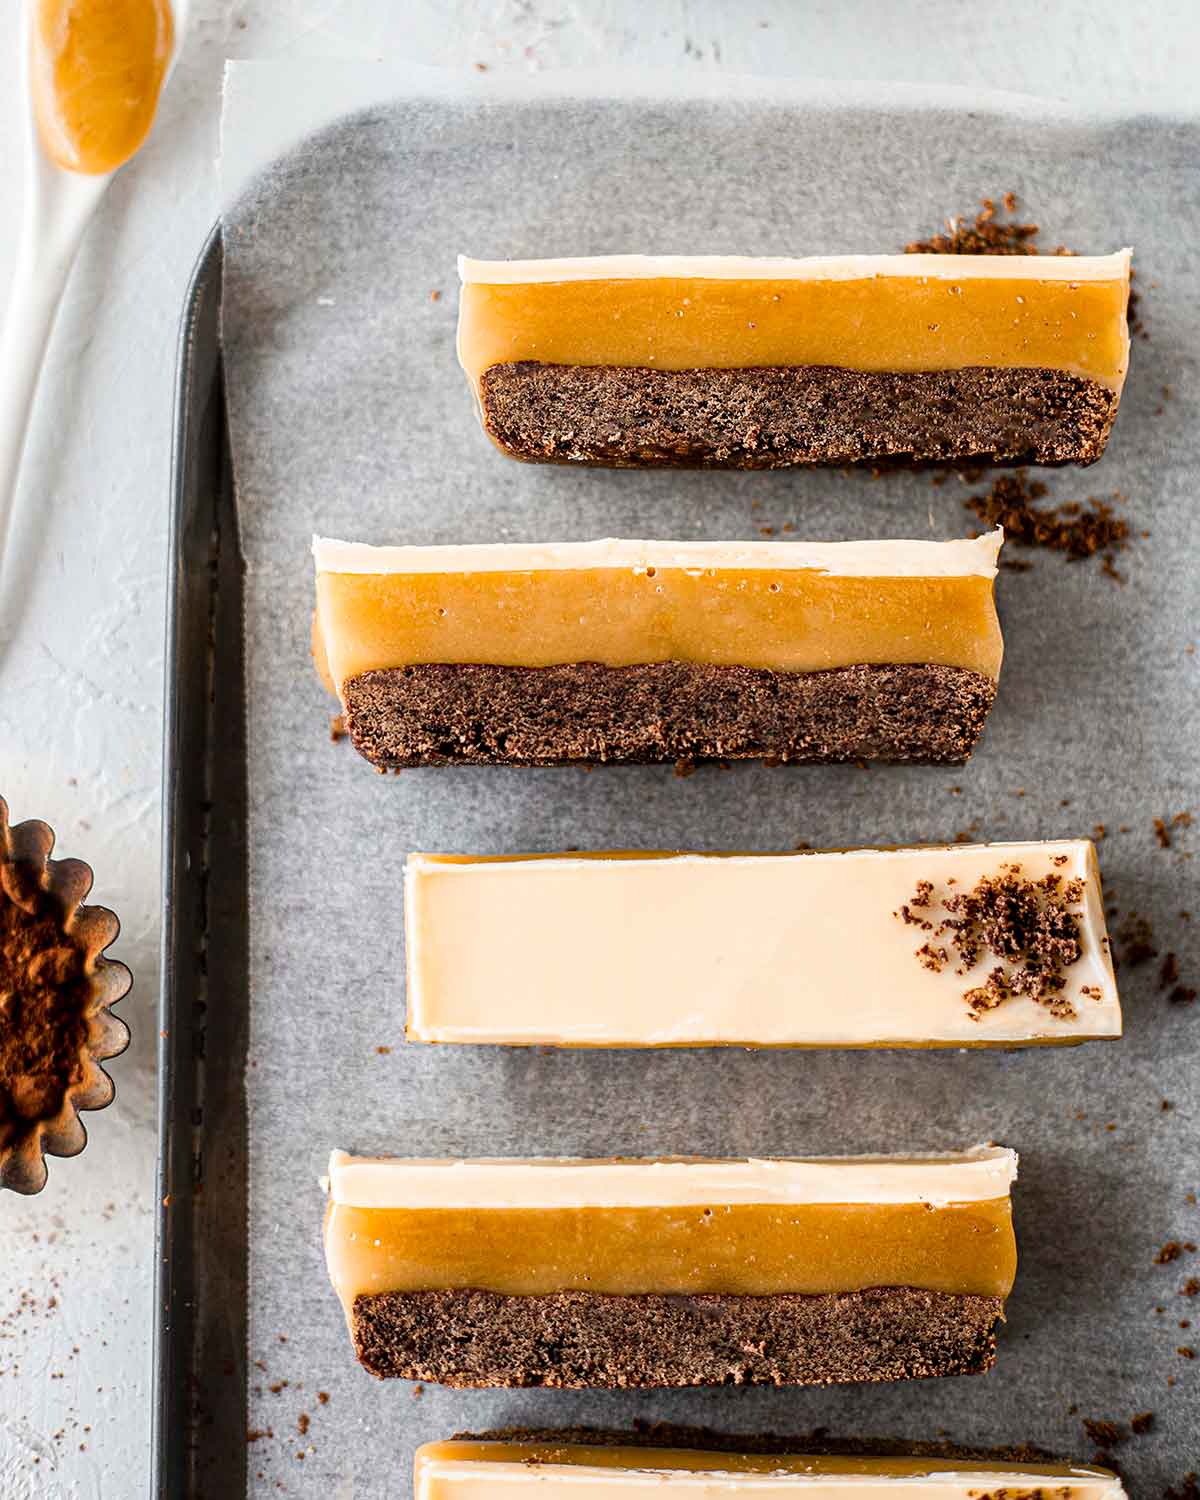
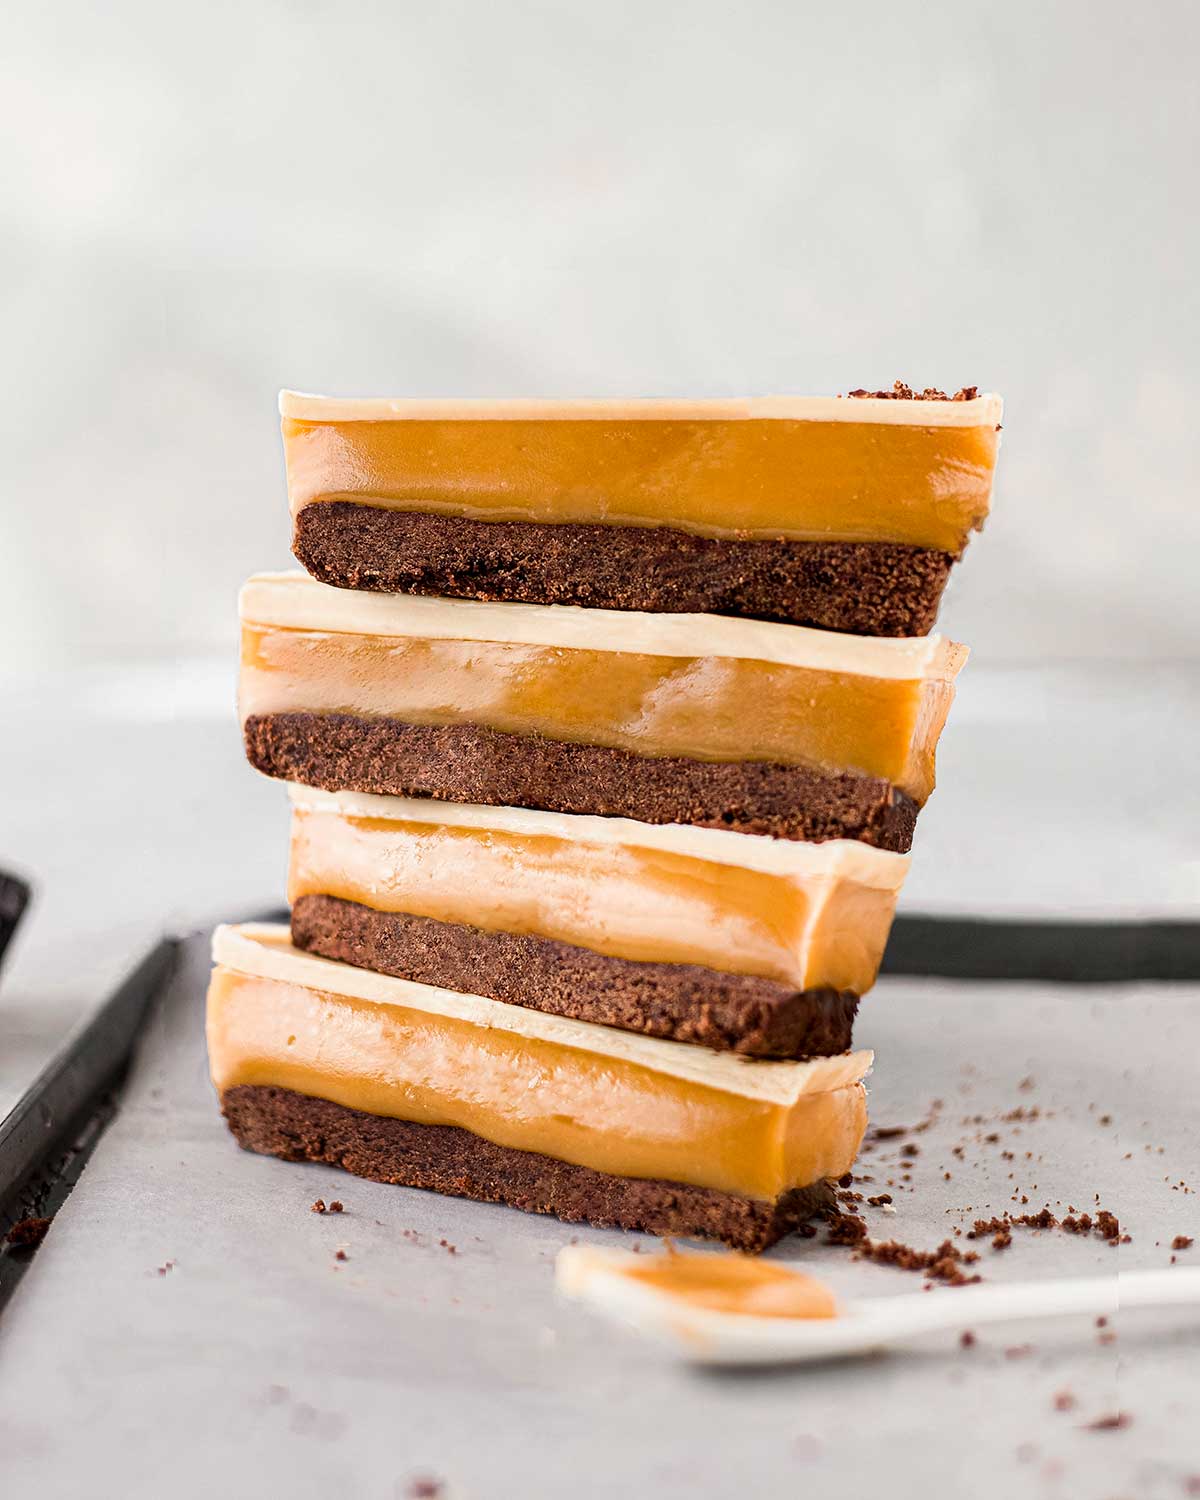
Reverse Caramel Slice (vegan)
A delicious variation on the traditional caramel slice. It has a chocolate cookie base, sticky caramel filling and crackly layer of white chocolate.
I love a classic caramel slice but have you ever seen a reverse caramel slice?
Caramel slices are very popular in Australia and found in almost local bakery. Traditionally, it has a plain biscuit crumb with a layer of caramel made with sweetened condensed milk and a hard layer of milk chocolate. However, I put cocoa powder in the base and used white chocolate instead of milk chocolate for the top!
This isn’t the healthiest of vegan caramel slice recipes. Sometimes we just want a good old traditional(ish) treat, right?!
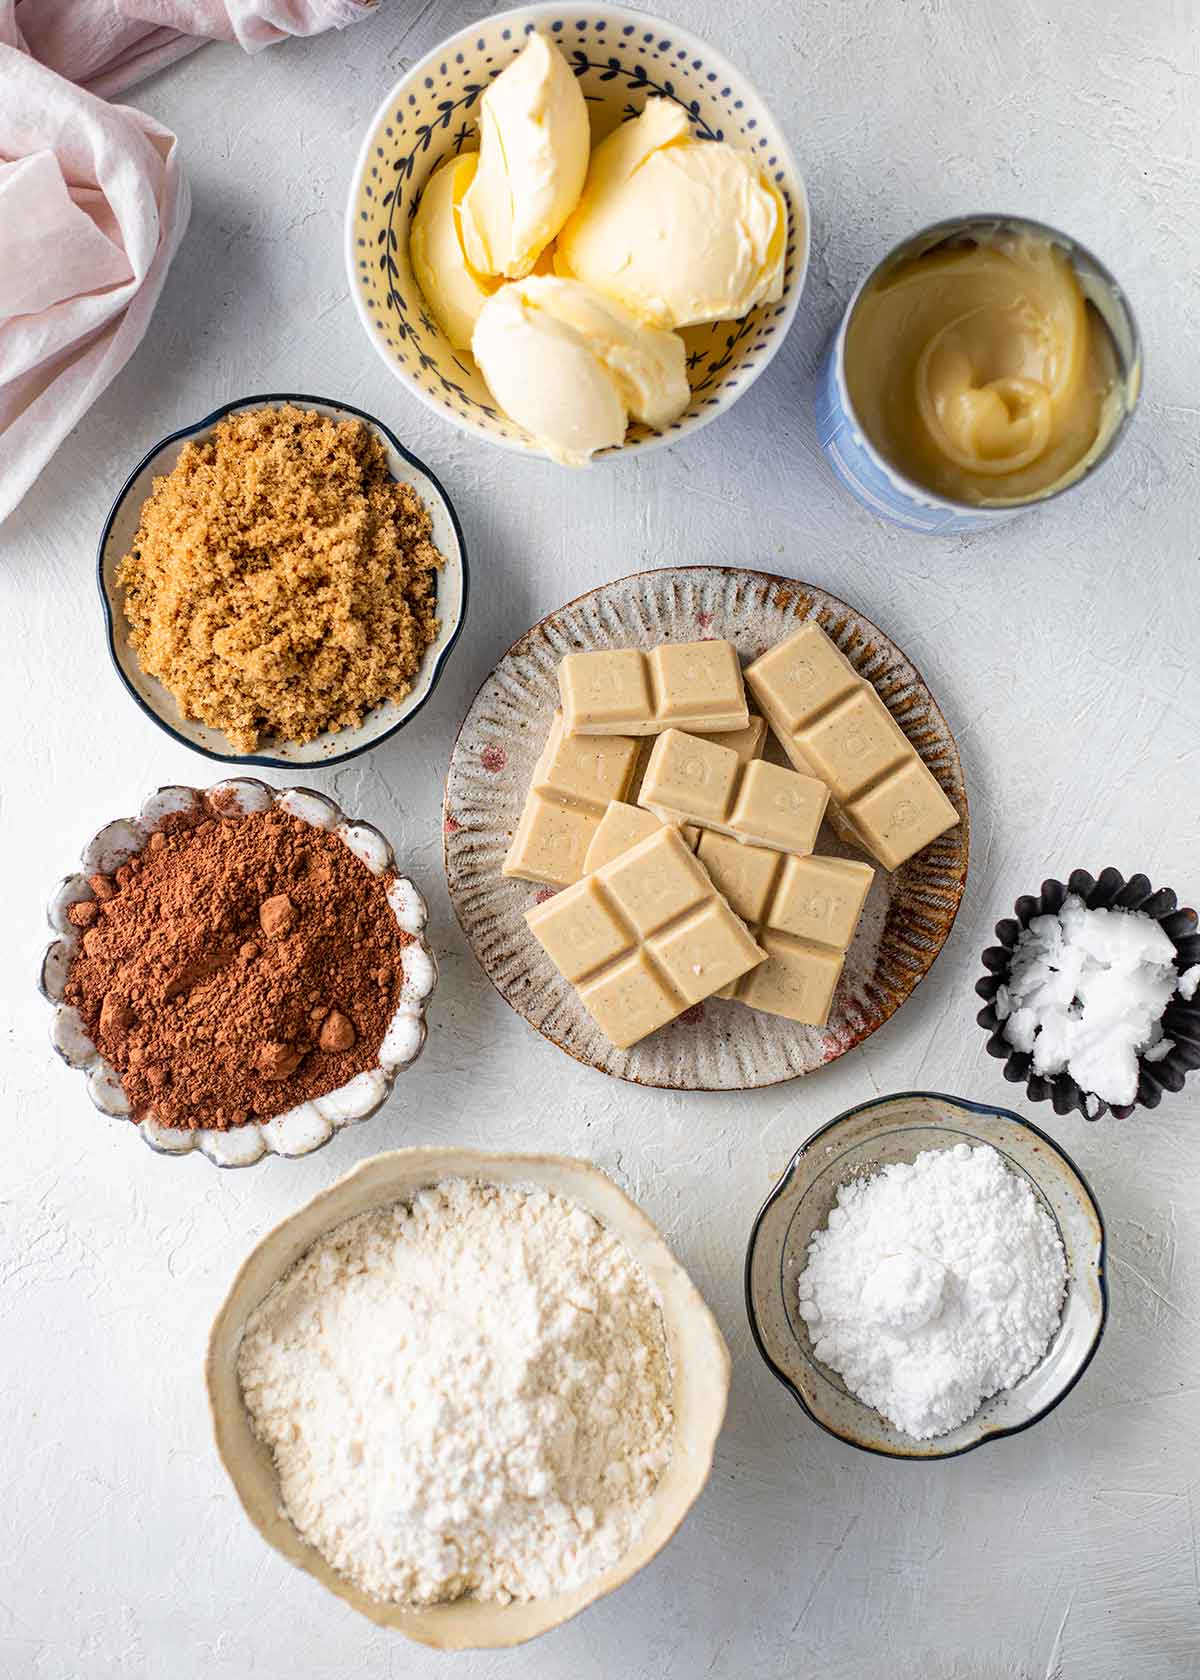
Ingredients to make this reverse caramel slice
Overall, you’ll need only 8 ingredients, all of which you can get at your local supermarket.
To make the base, you’ll need flour, vegan butter or margarine, cocoa powder and icing sugar.
To make the filling, you’ll need sweetened condensed coconut milk, butter and brown sugar. For the condensed milk, I used brands Nature’s Charm and Pandaroo (and they tasted soo good out of the can).
To make the chocolate topping you’ll need, you guessed it, vegan white chocolate and coconut oil.
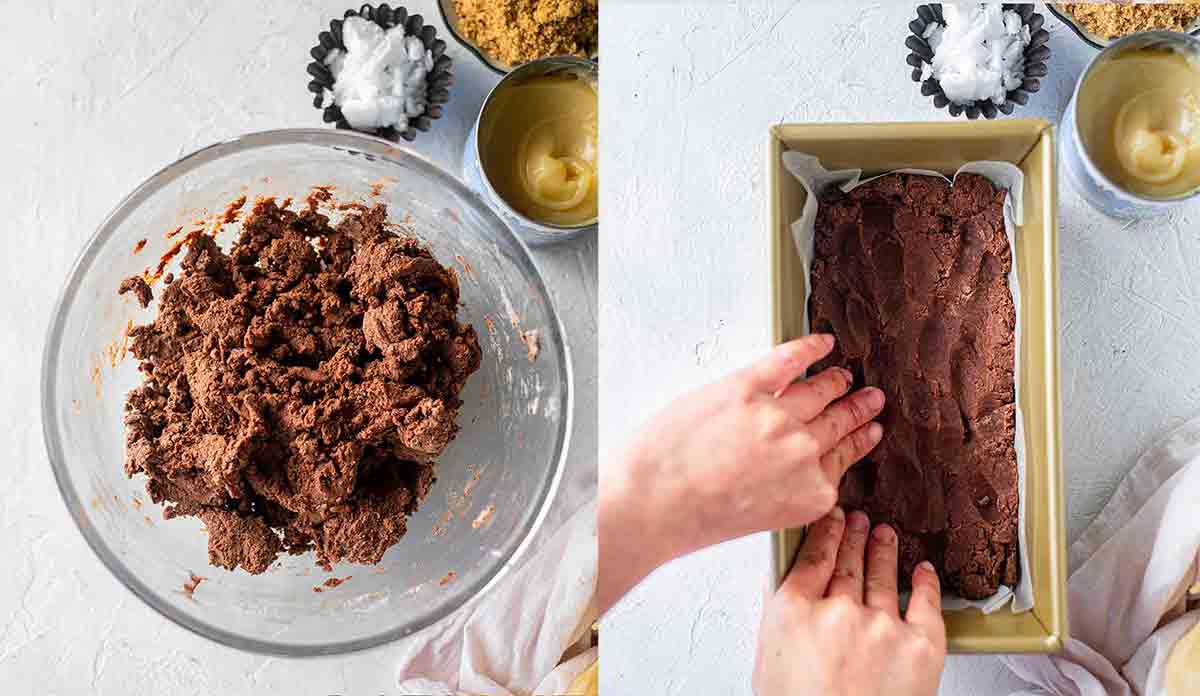
Making the chocolate base
Simply combine the flour, melted vegan butter or margarine, cocoa powder and icing sugar in a medium-size bowl. Mix until combined. You should be able to pinch the mixture with two fingers without it crumbling.
Then press it into a lined loaf tin or small square tin. I used my fingers to initially press it into the tin then a spoon or spatula to make it flat.
Once you’ve done that, bake the base in a preheated oven for about 10 minutes.
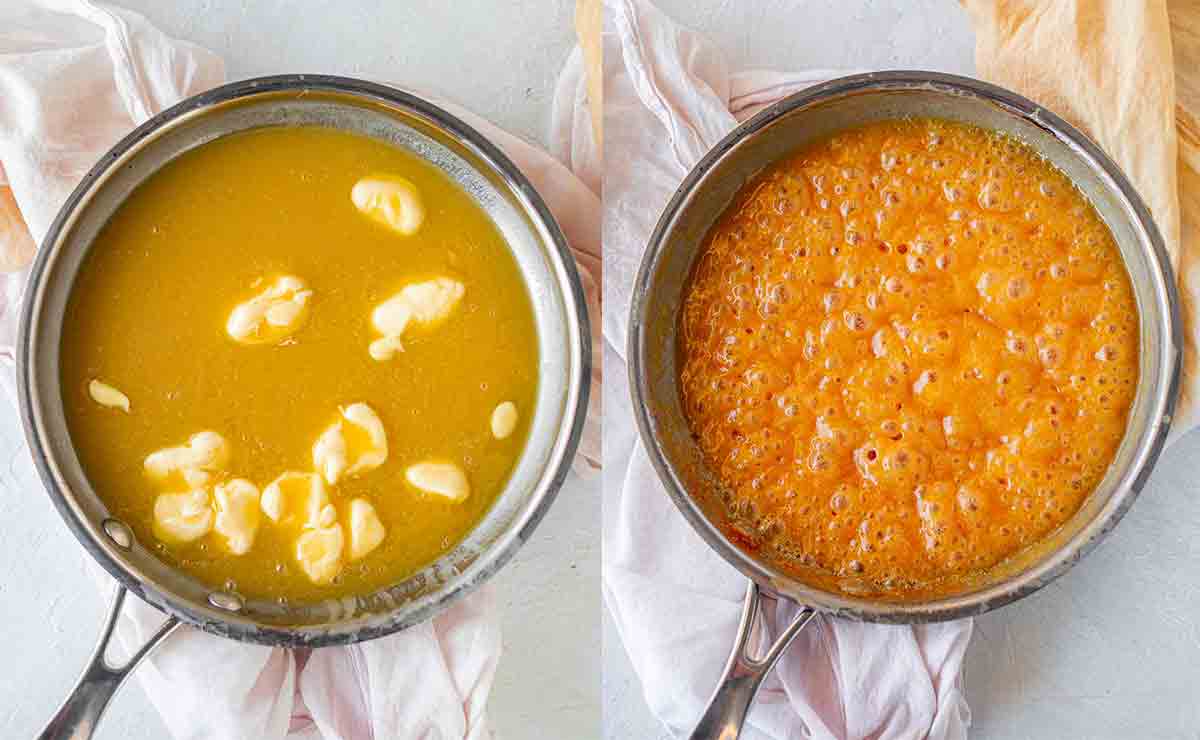
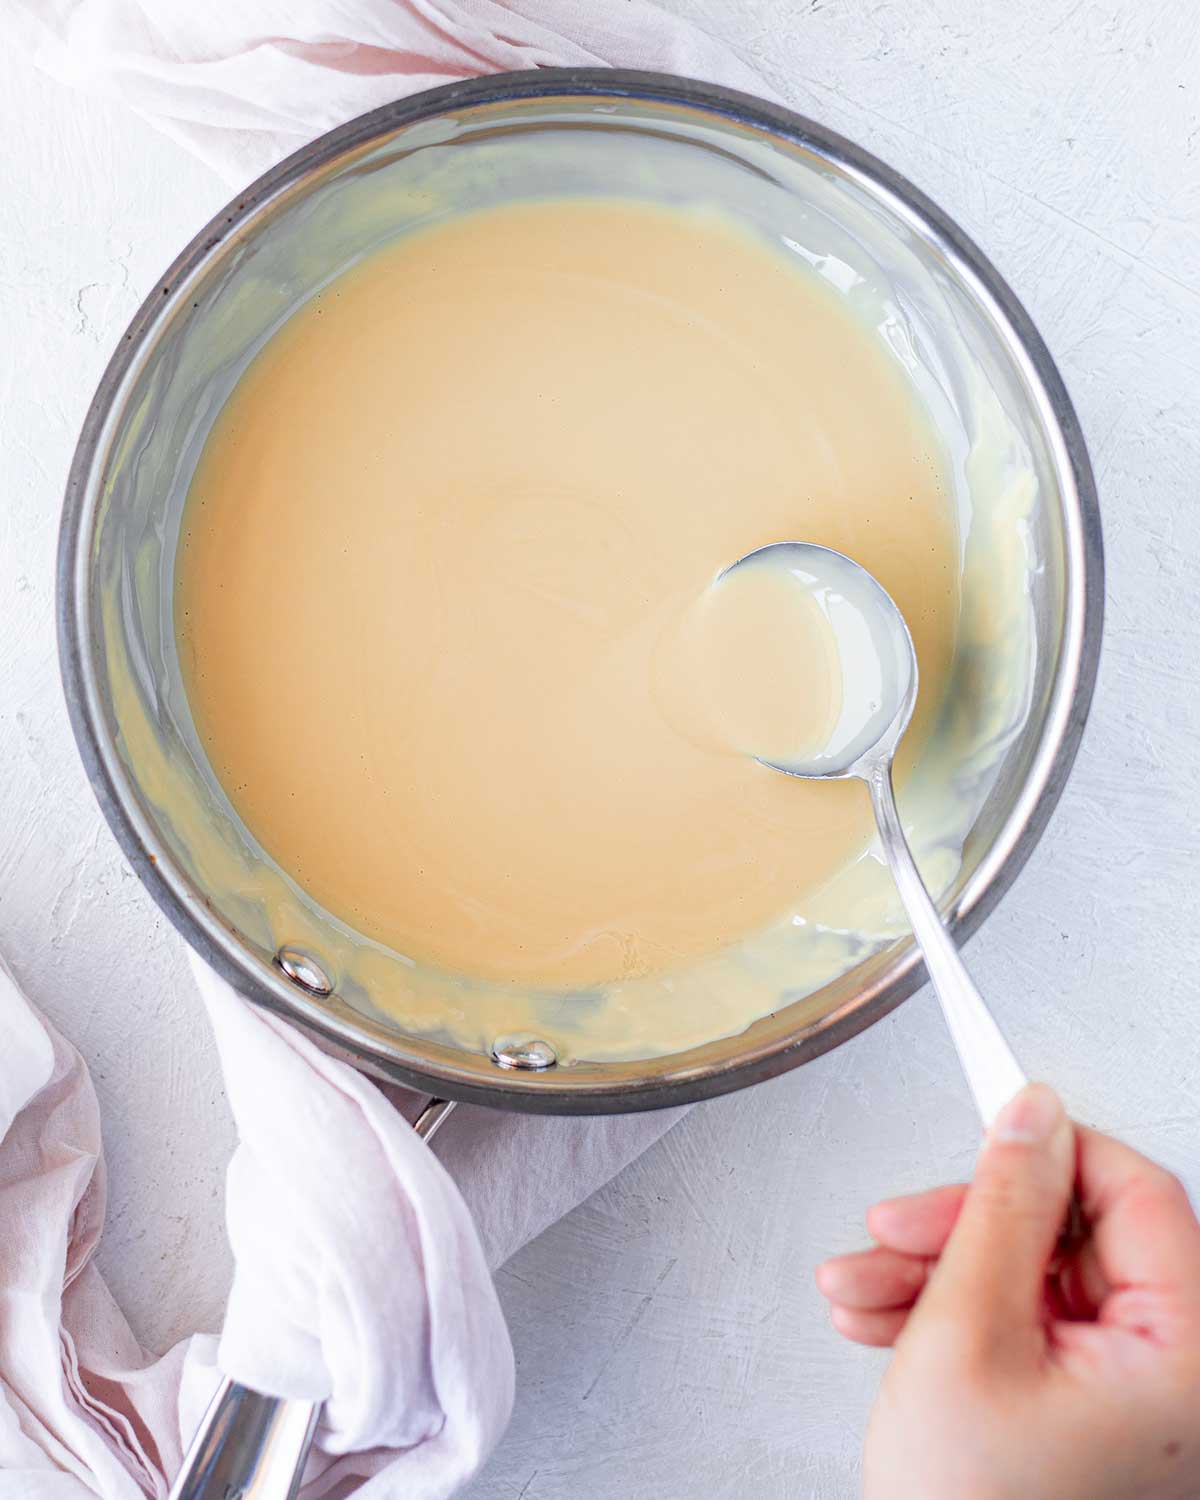
How to make the caramel for the slice using sweetened condensed milk
Simply add the sweetened condensed coconut milk, vegan butter or margaine and brown sugar to a saucepan.
Boil it over medium-high heat for about 15 minutes or until it reaches a beautiful golden colour. Make sure you don’t under-boil the caramel otherwise it will not set.
Some recipes ask you to pour the caramel into the tin then bake it for 15 minutes. However, whenever I did this, it ended up being a big mess and it made the caramel TOO chewy.
For those reasons (and simplicity), in this recipe, you just need to pour the caramel into the tin and let it set.
The trick is: if you cook the caramel enough on the stove, it’ll reduce the mixture enough to allow it to set. Once you’ve done this, place the slice in the fride.
Making the white chocolate layer
The caramel has set when it’s firm to the touch. When this happens, you can make your white chocolate layer!
Simply melt the white chocolate and coconut oil in a small saucepan or in a double boiler. Pour it onto your caramel layer then return the slice to the fridge.
The coconut oil helps minimise chances of the white chocolate from cracking when you cut into it.
Cutting the reverse caramel slice
Since you’ve put all this effort into making the slice, here are a few tips for cutting the slice so the chocolate doesn’t crack and your slice doesn’t go everywhere:
- Make sure your slice is COLD when you cut it. If it’s warm, the caramel will squish away.
- Use a very sharp knife to cut the slice. It helps if the knife is hot as this helps melt the chocolate. Run your knife under hot water
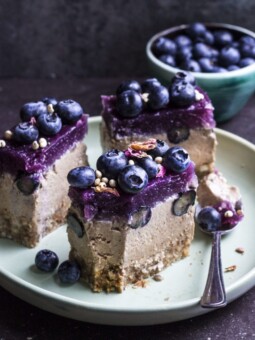
More vegan candies and bars


Reverse Caramel Slice (vegan)
Ingredients
Base
- ¾ cup (95g) all-purpose plain flour
- ⅓ cup (75g) vegan butter, margarine or coconut oil, melted
- ¼ cup (25g) powdered sugar / icing sugar
- 2 tablespoons (15g) cocoa or raw cacao powder
Caramel filling
- 1 x 320g can dairy-free sweetened condensed milk
- ½ cup (115g) vegan butter, or 3/4 cup (170g) vegan margarine*
- ¼ cup (50g) packed light brown sugar
Chocolate topping
- 1 cup (100g) roughly chopped vegan white chocolate
- 3 tablespoons (45g) coconut oil, or liquid vegetable oil
Instructions
- Preheat the oven to 180°C (350°F). Line a 20 cm (8 inch) loaf tin with baking paper.
- To make the base: Add all ingredients to a bowl and mix until combined. The mixture should stick together when it is pinched between two fingers.
- Firmly press the base mixture into the tin. Bake in the oven for 10 minutes.
- To make the filling: Add all ingredients to a saucepan over medium-high heat. Simmer for 15 minutes while constantly stirring or until the caramel is a deep golden brown colour.** Pour the caramel into the tin and set aside in the fridge for at least 2 hours.
- When the caramel is firm to the touch, start making your final layer.
- To make the chocolate layer: Add all ingredients to a small saucepan or double boiler over low heat. Mix until melted. Pour the melted chocolate on top of your caramel layer and return the slice to the fridge to set.
- To cut the caramel slice: Remove the caramel slice from the fridge and pull the baking paper to remove it from the tin. Run a sharp knife under hot water and carefully cut the slice with the hot knife. You may need to 'heat' your knife a few times to cut the slice.
- Store the caramel slice in an airtight container in the fridge for up to 1 week or in the freezer for up to 1 month.
Notes
This post may contain affiliate links. As an Amazon Associate, I may earn a small commission from qualifying purchases at no additional cost to you.

I made this reverse caramel slice and it is SERIOUSLY delicious. As a non-Vegan I used regular butter, kept everything else the same, and it turned out great! The caramel filling is simply luscious and I used Loving Earth white chocolate for the top layer because it is a favourite, just like this recipe is now. Do yourself a favour and make it!
Hi Cheryl! Ooh that’s soooo amazing to hear! Your recreation on IG really made me hungry haha. I love Loving Earth’s white chocolate too! Thanks so much for your feedback and comment xo