
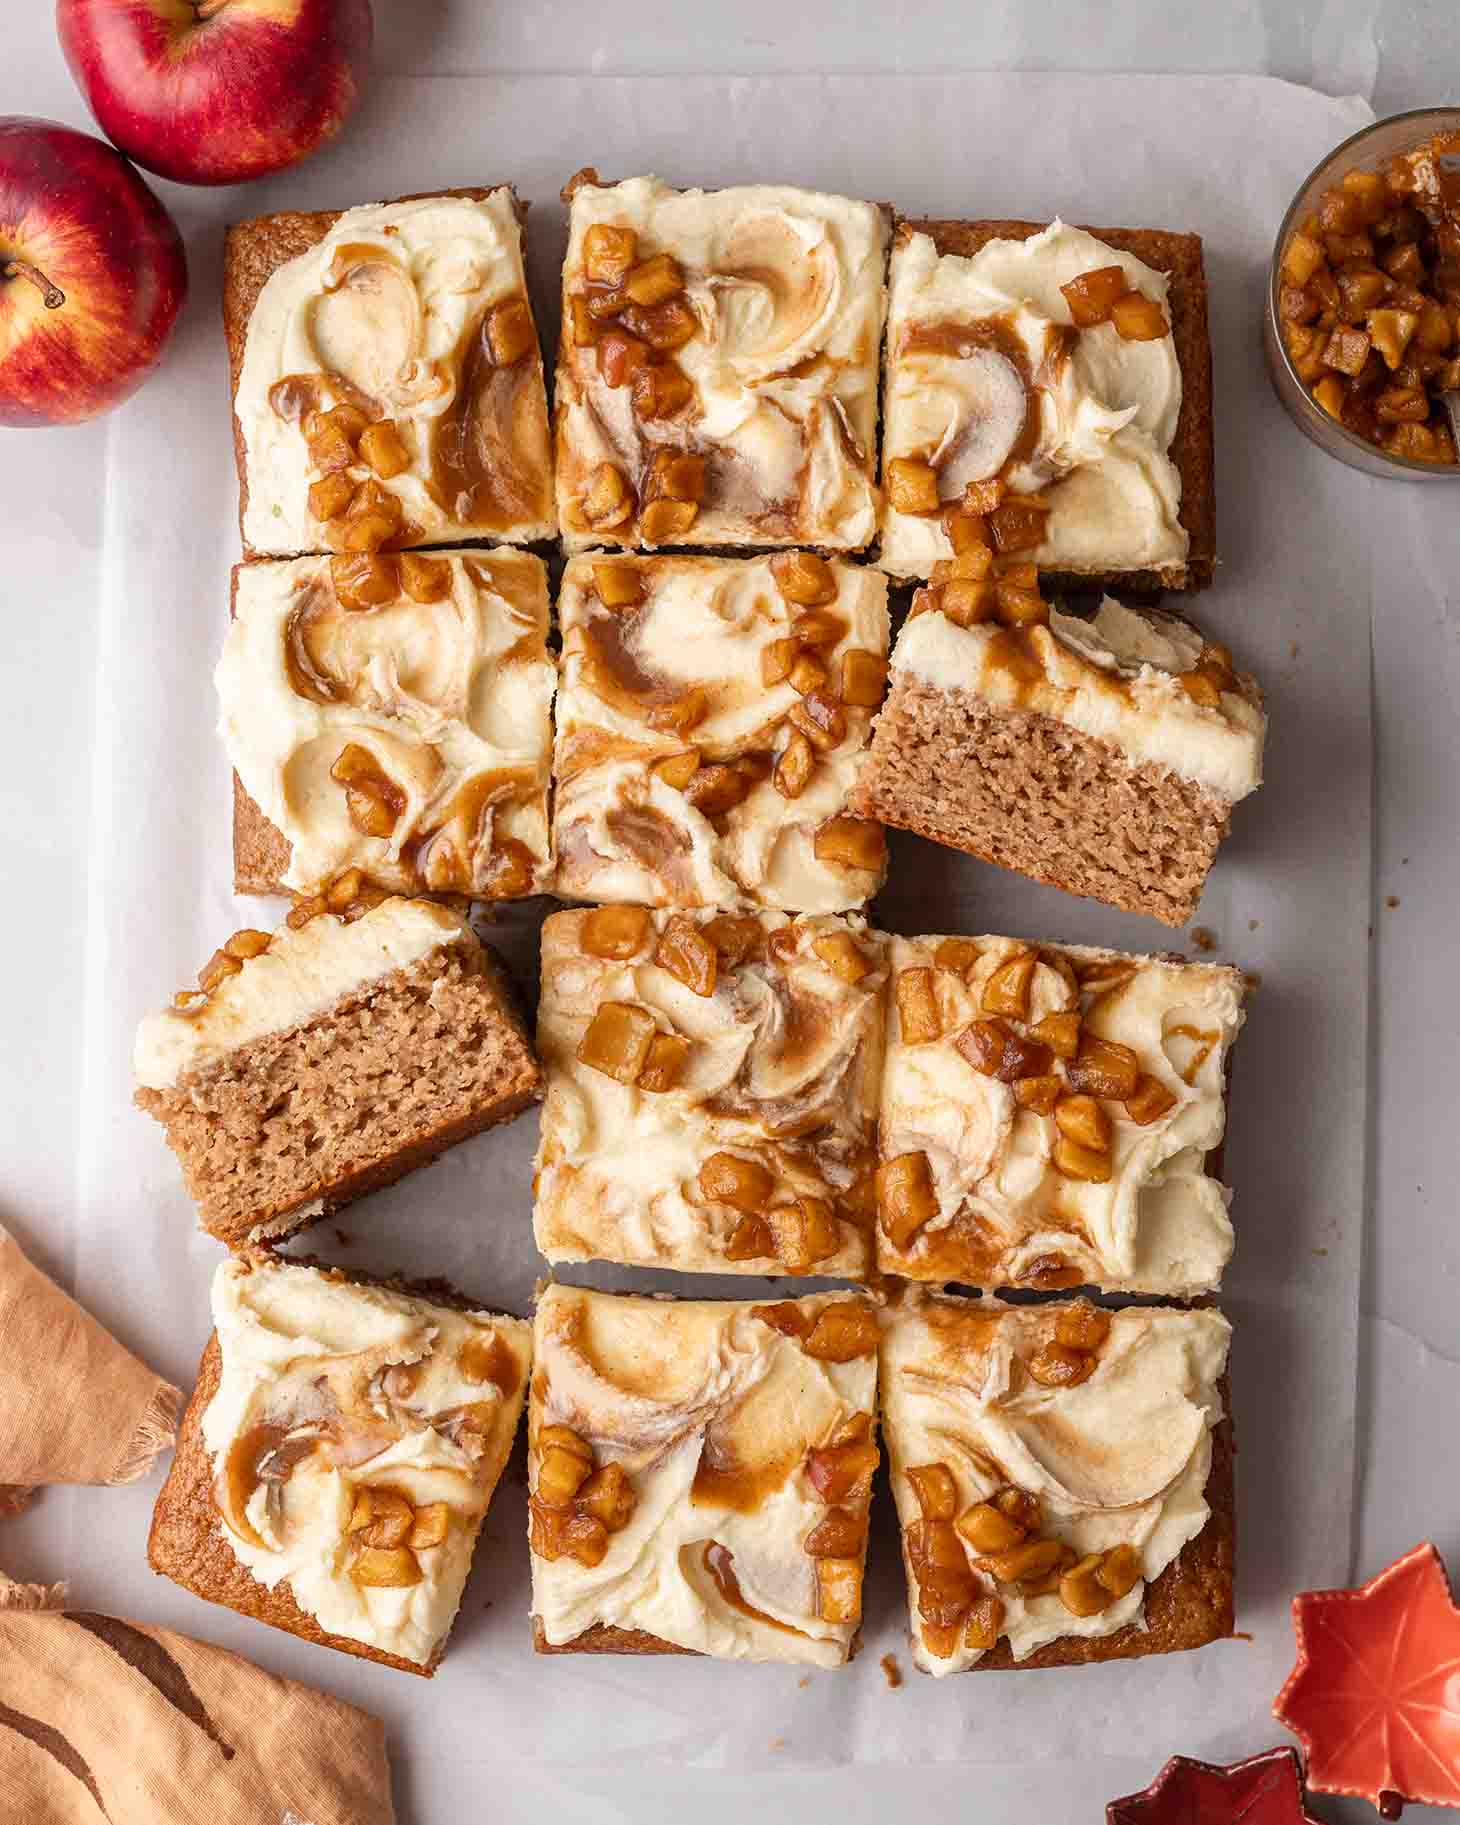
Vegan Applesauce Cake
This vegan applesauce cake is perfectly spiced, packed with apple flavor and beautifully soft and moist. It’s a wonderful crowd-pleasing cake for Fall and so easy to make. No eggs or dairy needed!
Simple Ingredients You’ll Need
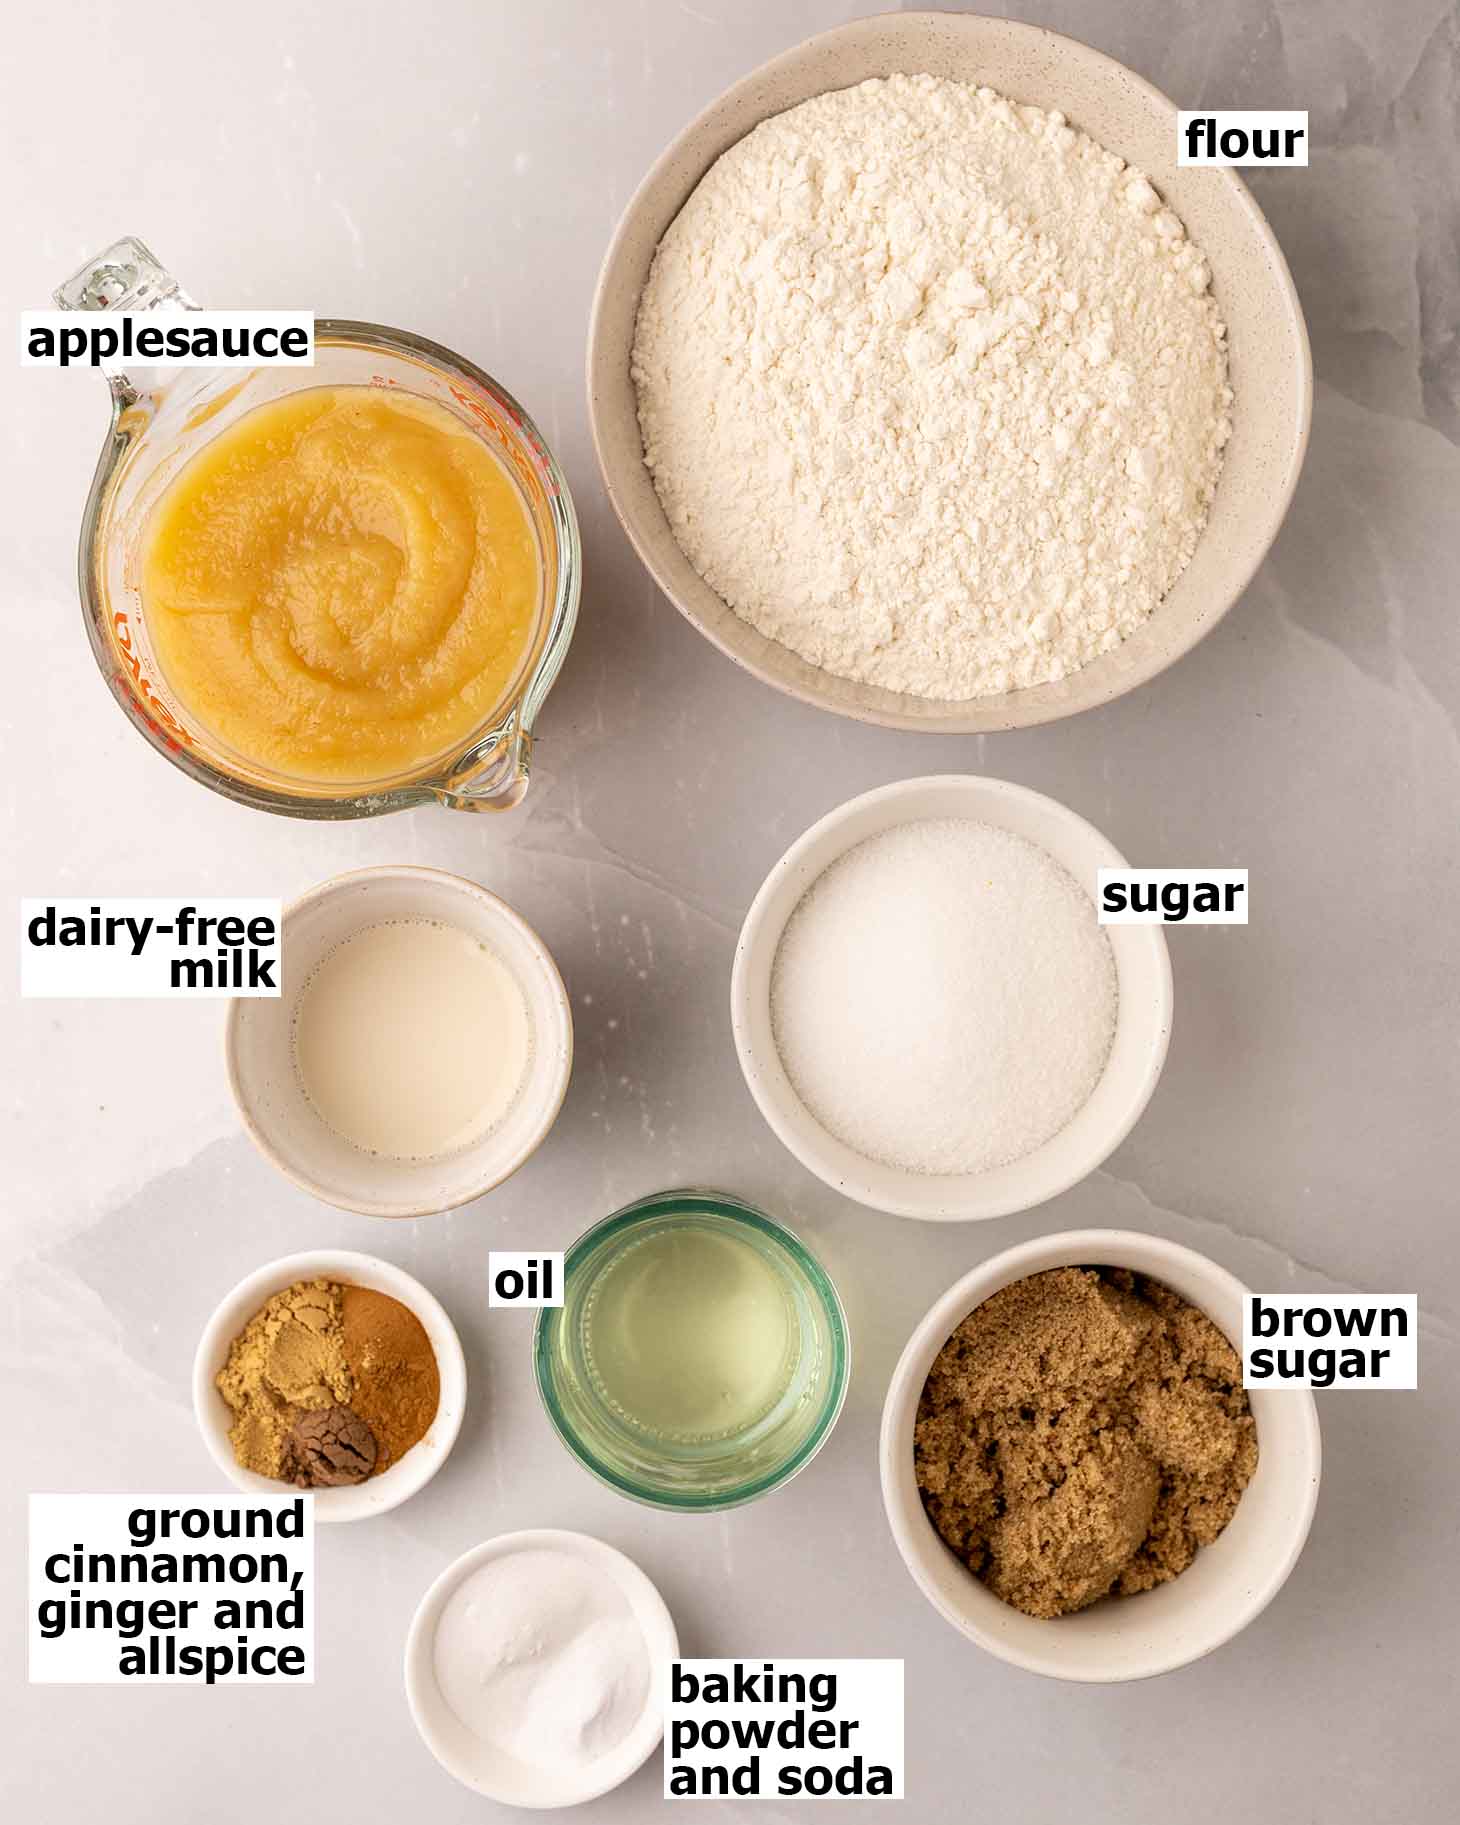
The full list of ingredient quantities and instructions are in the recipe card at the bottom of this post.
Store-bought applesauce. This recipe packs in 2 whole cups of unsweetened applesauce for a deep apple flavor and wonderfully moist texture. Sweetened applesauce will also work, though your cake will be sweeter.
Granulated sugar ensures the cake is light and cakey and light brown sugar adds depth of flavor! I settled on a ratio of granulated to brown sugar to create a perfectly cozy cake that isn’t too heavy. If you prefer a lighter cake, you can use all granulated sugar. Or if you prefer a more robust cake, use all brown sugar.
Non-dairy milk. I always prefer unsweetened soy milk in baking as it adds depth of flavor and its higher protein content helps create a more tender cake. However, any milk will work, such as oat milk or a full-bodied almond milk.
Ground cinnamon, ginger and allspice. This recipe uses 4 1/2 teaspoons of warm spices for extra Fall coziness! Feel free to adjust the amount of spices to suit your tastes, although I thought this combination/amount of spices was perfect for this large sheet cake.
How to Make Applesauce Cake
First, add all the dry ingredients to a large mixing bowl and stir until combined. Make sure the ingredients are very well combined, because you don’t want lumps of baking soda in your baked cake!
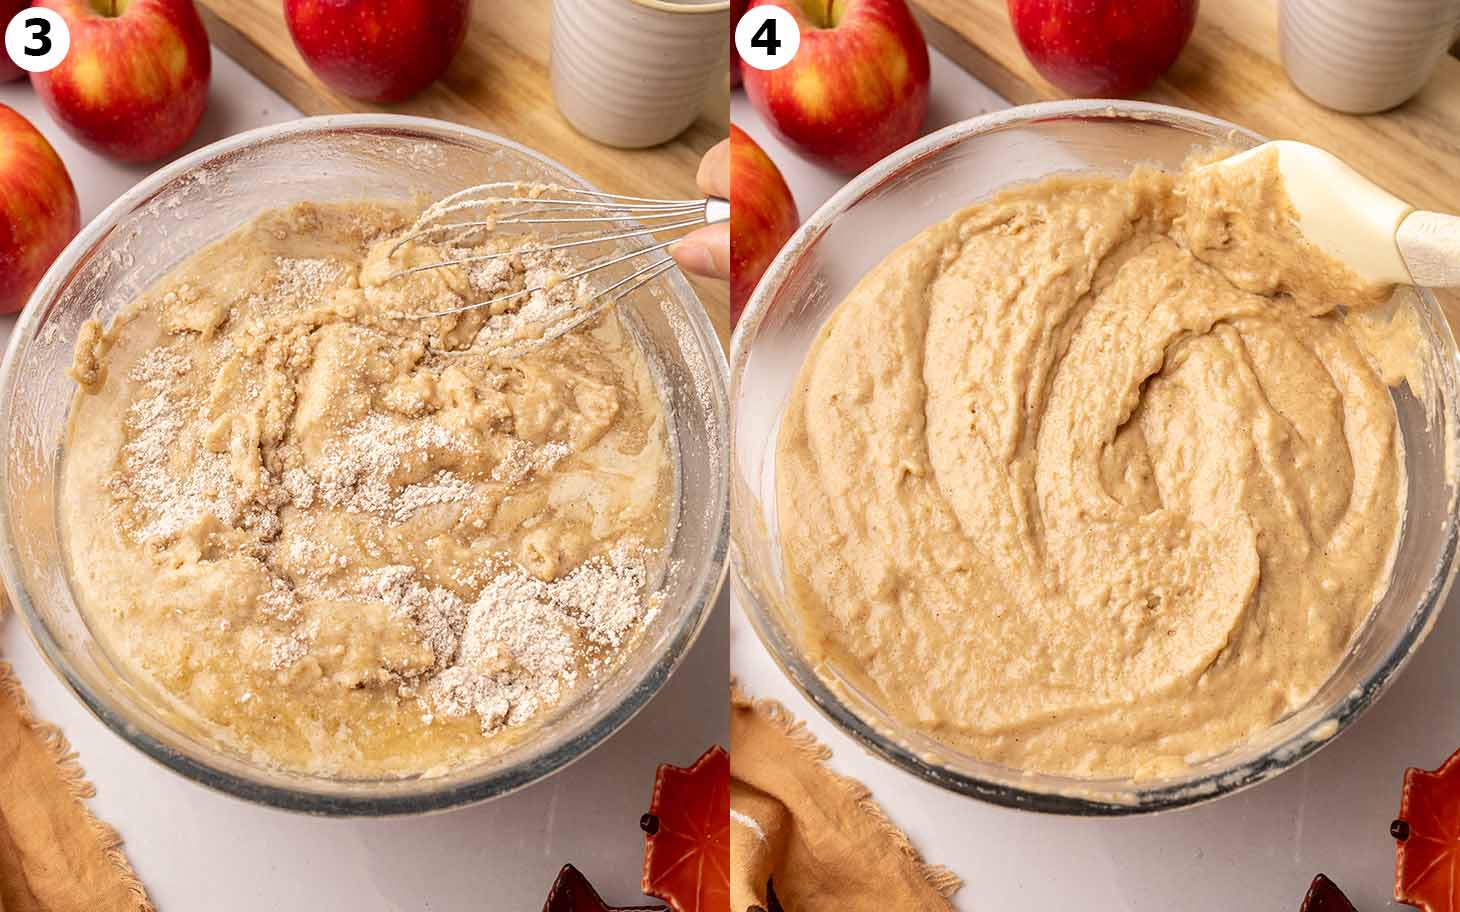
Then add all the wet ingredients, including the applesauce, to the same bowl.
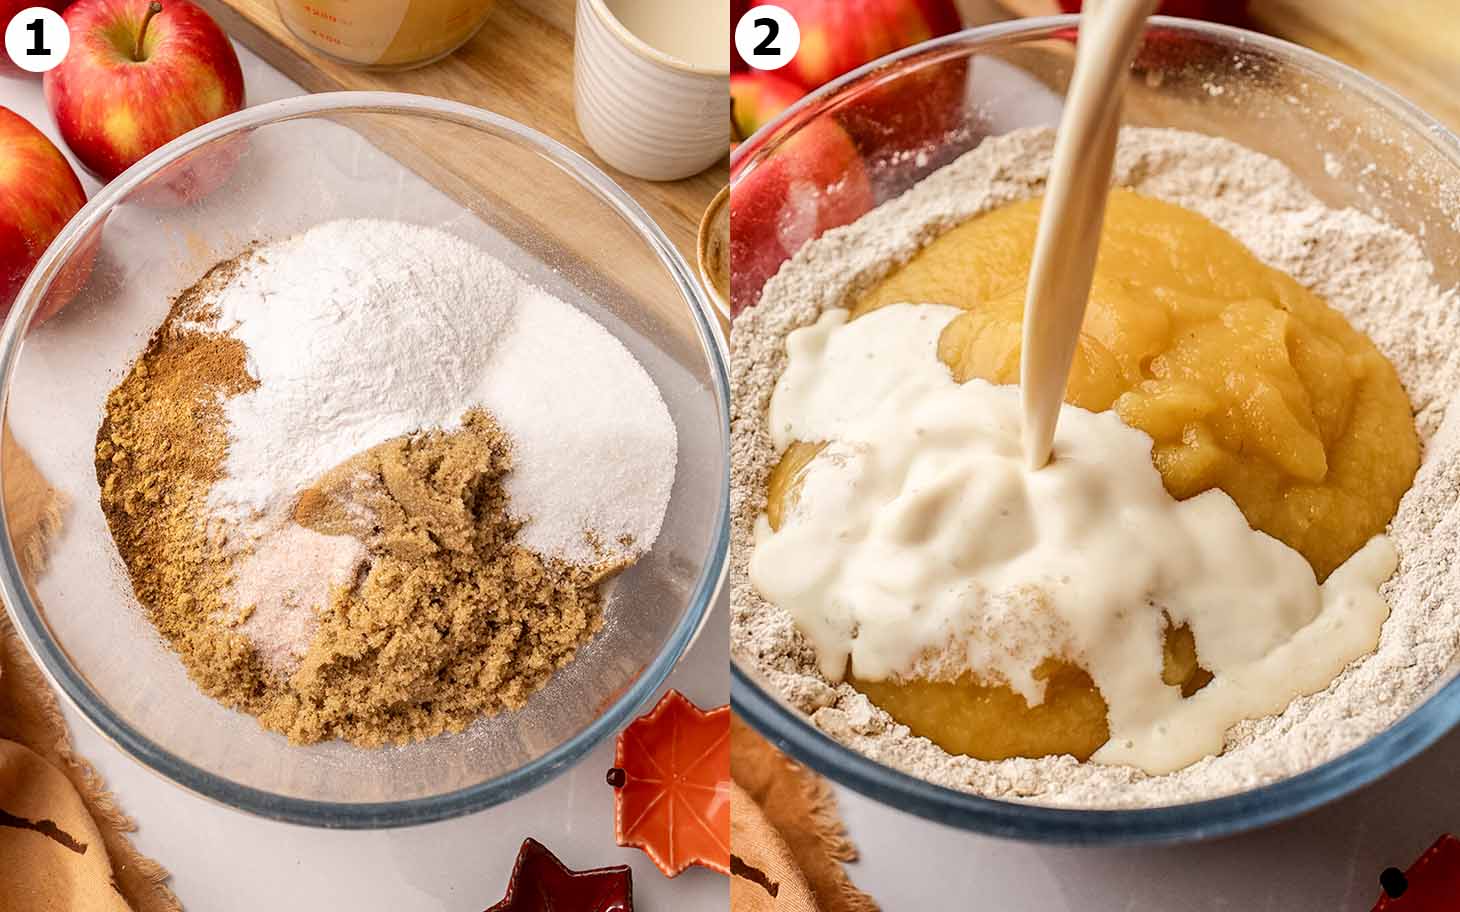
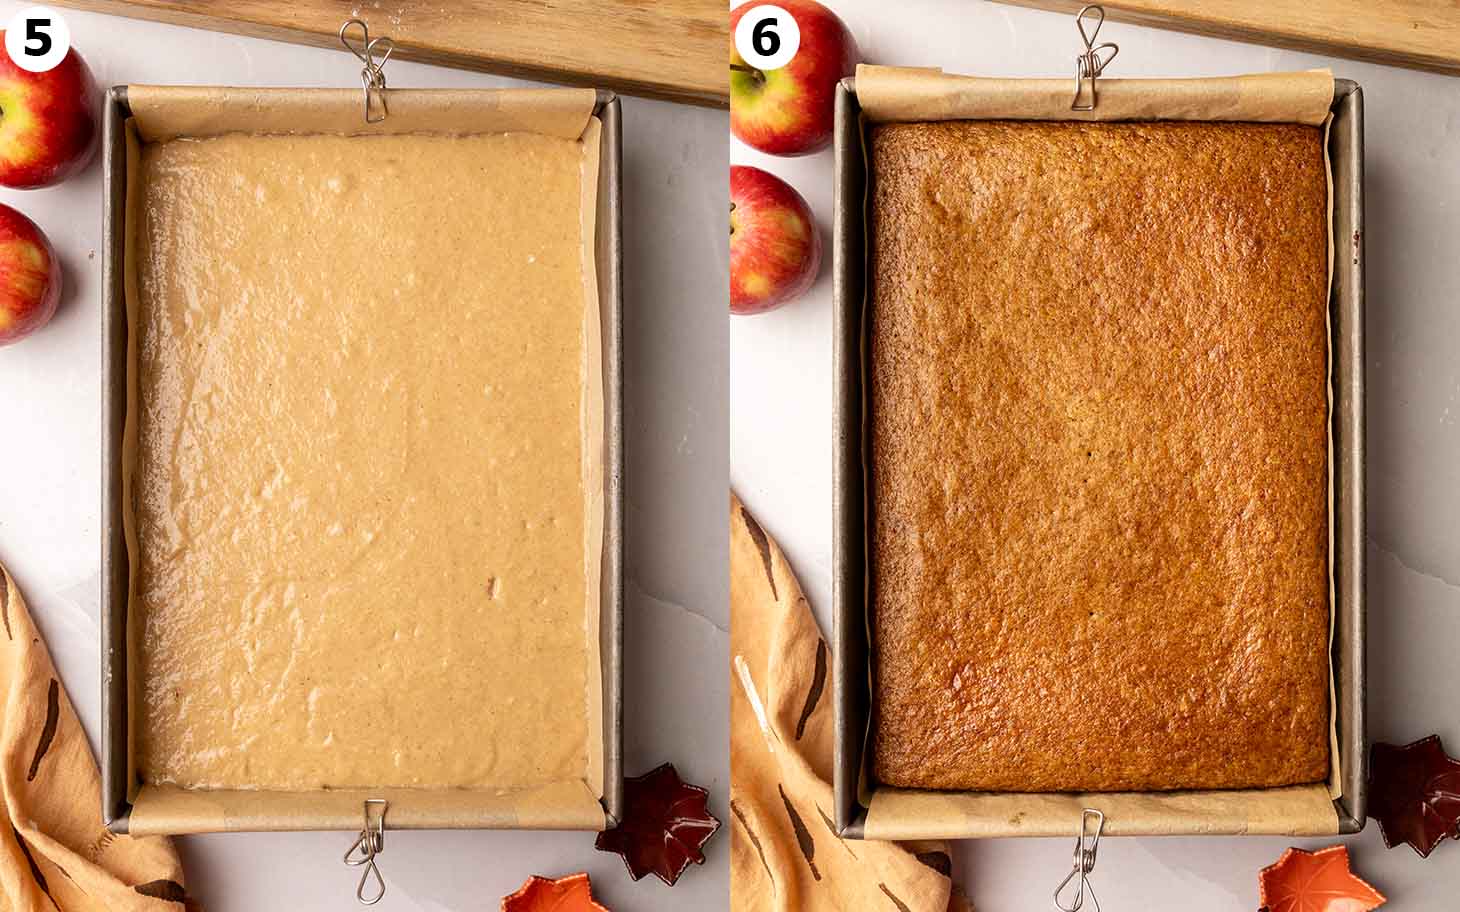
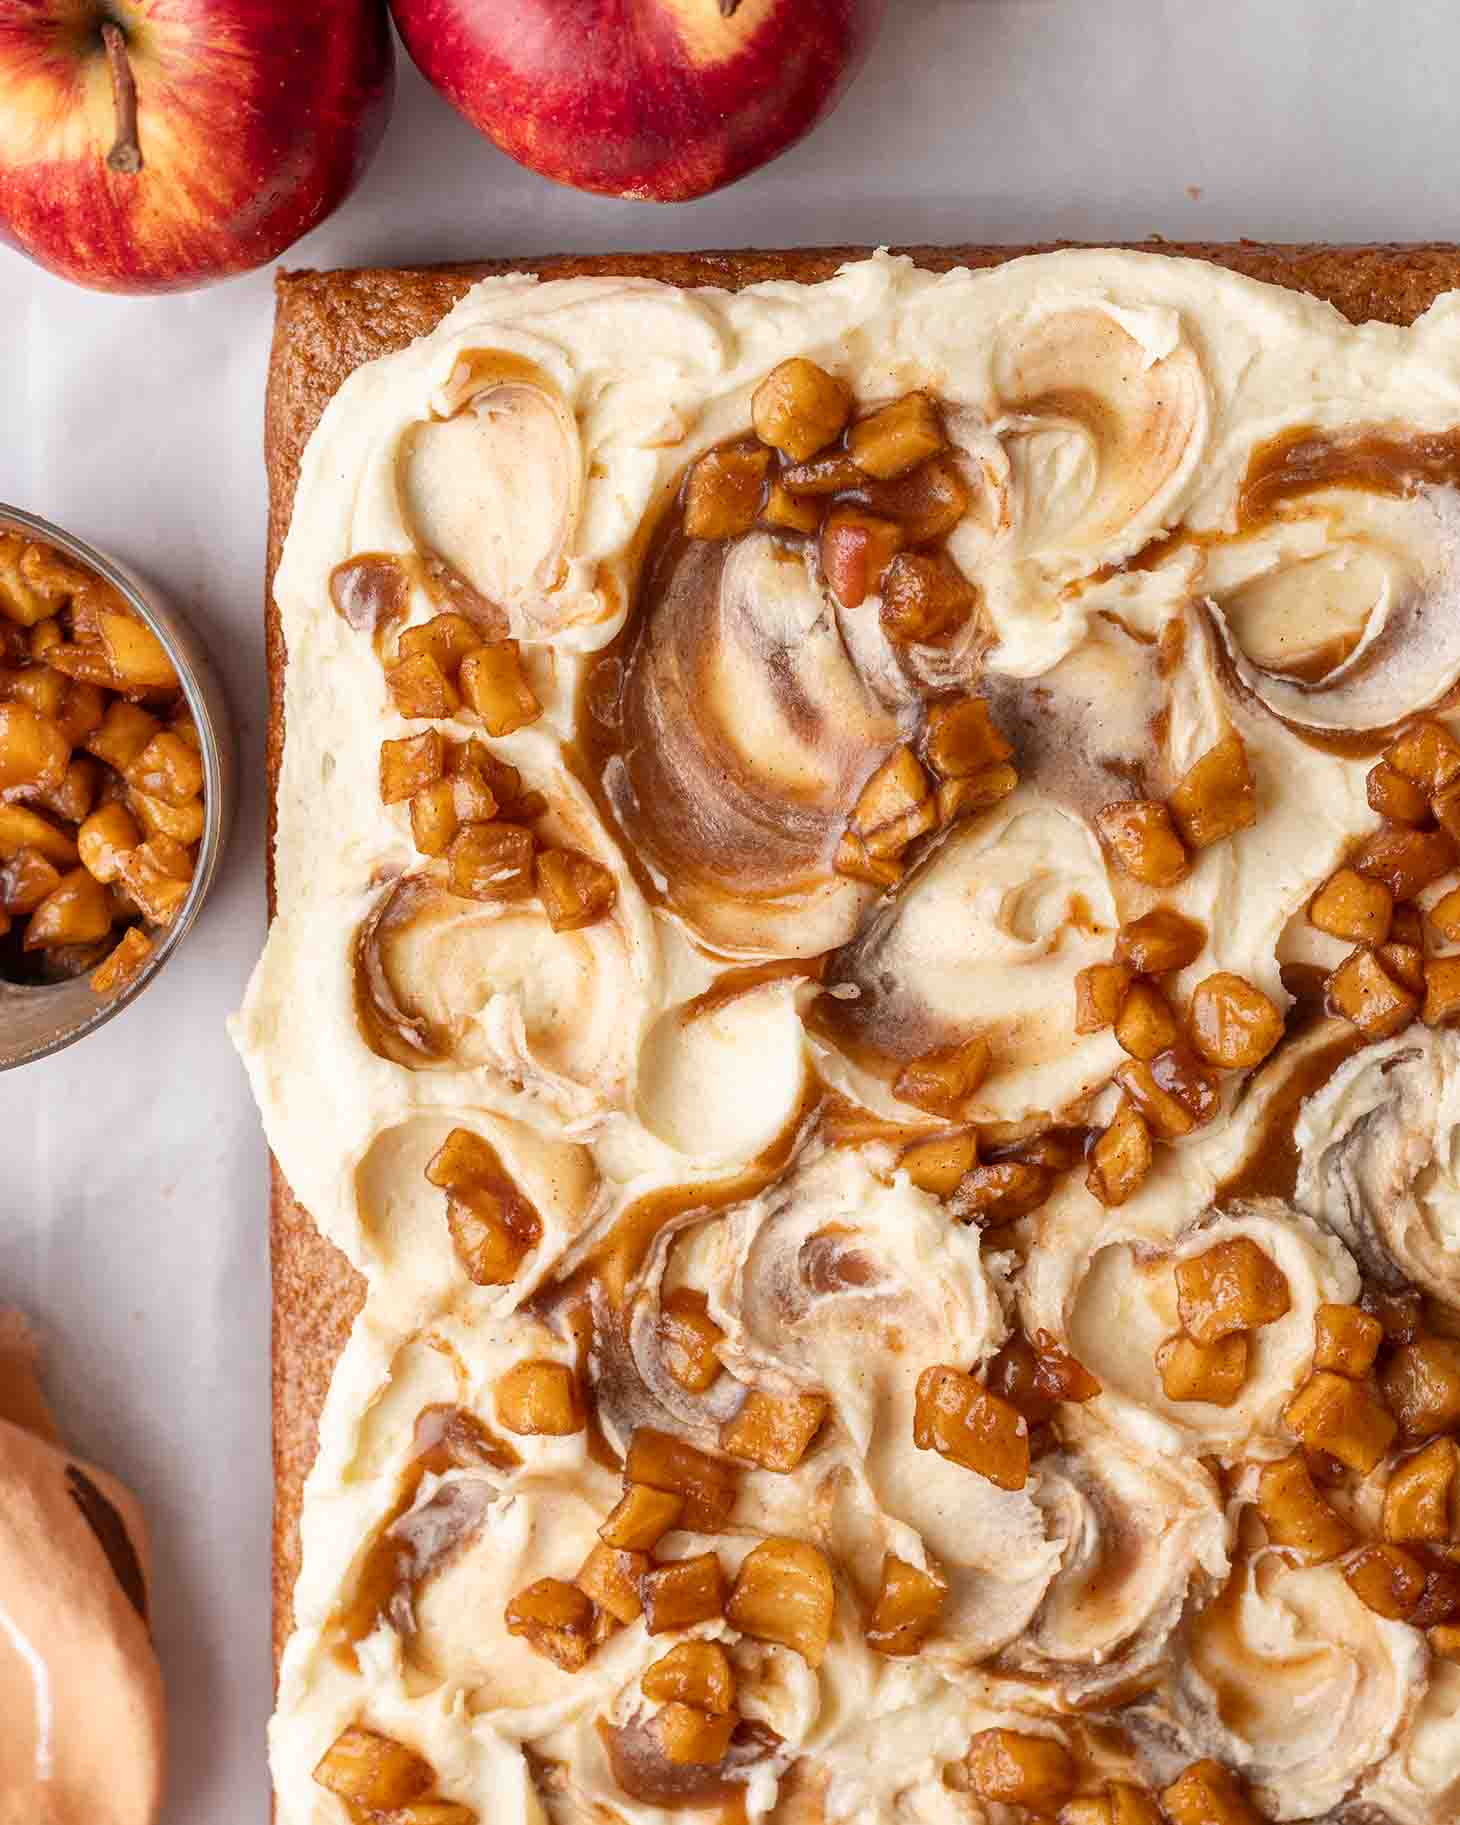
Gently mix the batter until it’s just combined. Some lumps are fine, as long as they aren’t lumps of dry flour.
Try to avoid overmixing the cake to prevent the raising agents from activating too early, which can leave you a gummy and dense cake. In a large and wide bowl, it should take only a few turns of your spatula to mix the ingredients.
Finally, bake the cake for around 35 minutes. Keep in mind that the baking time can vary depending on how hot your oven actually runs – you know your oven the best!
When the cake is ready, place the sheet pan on a wire rack and let the cake cool completely in the pan. The cake is delicate when it’s fresh from the oven so I don’t recommend removing it when it’s warm.
Decoration Tips
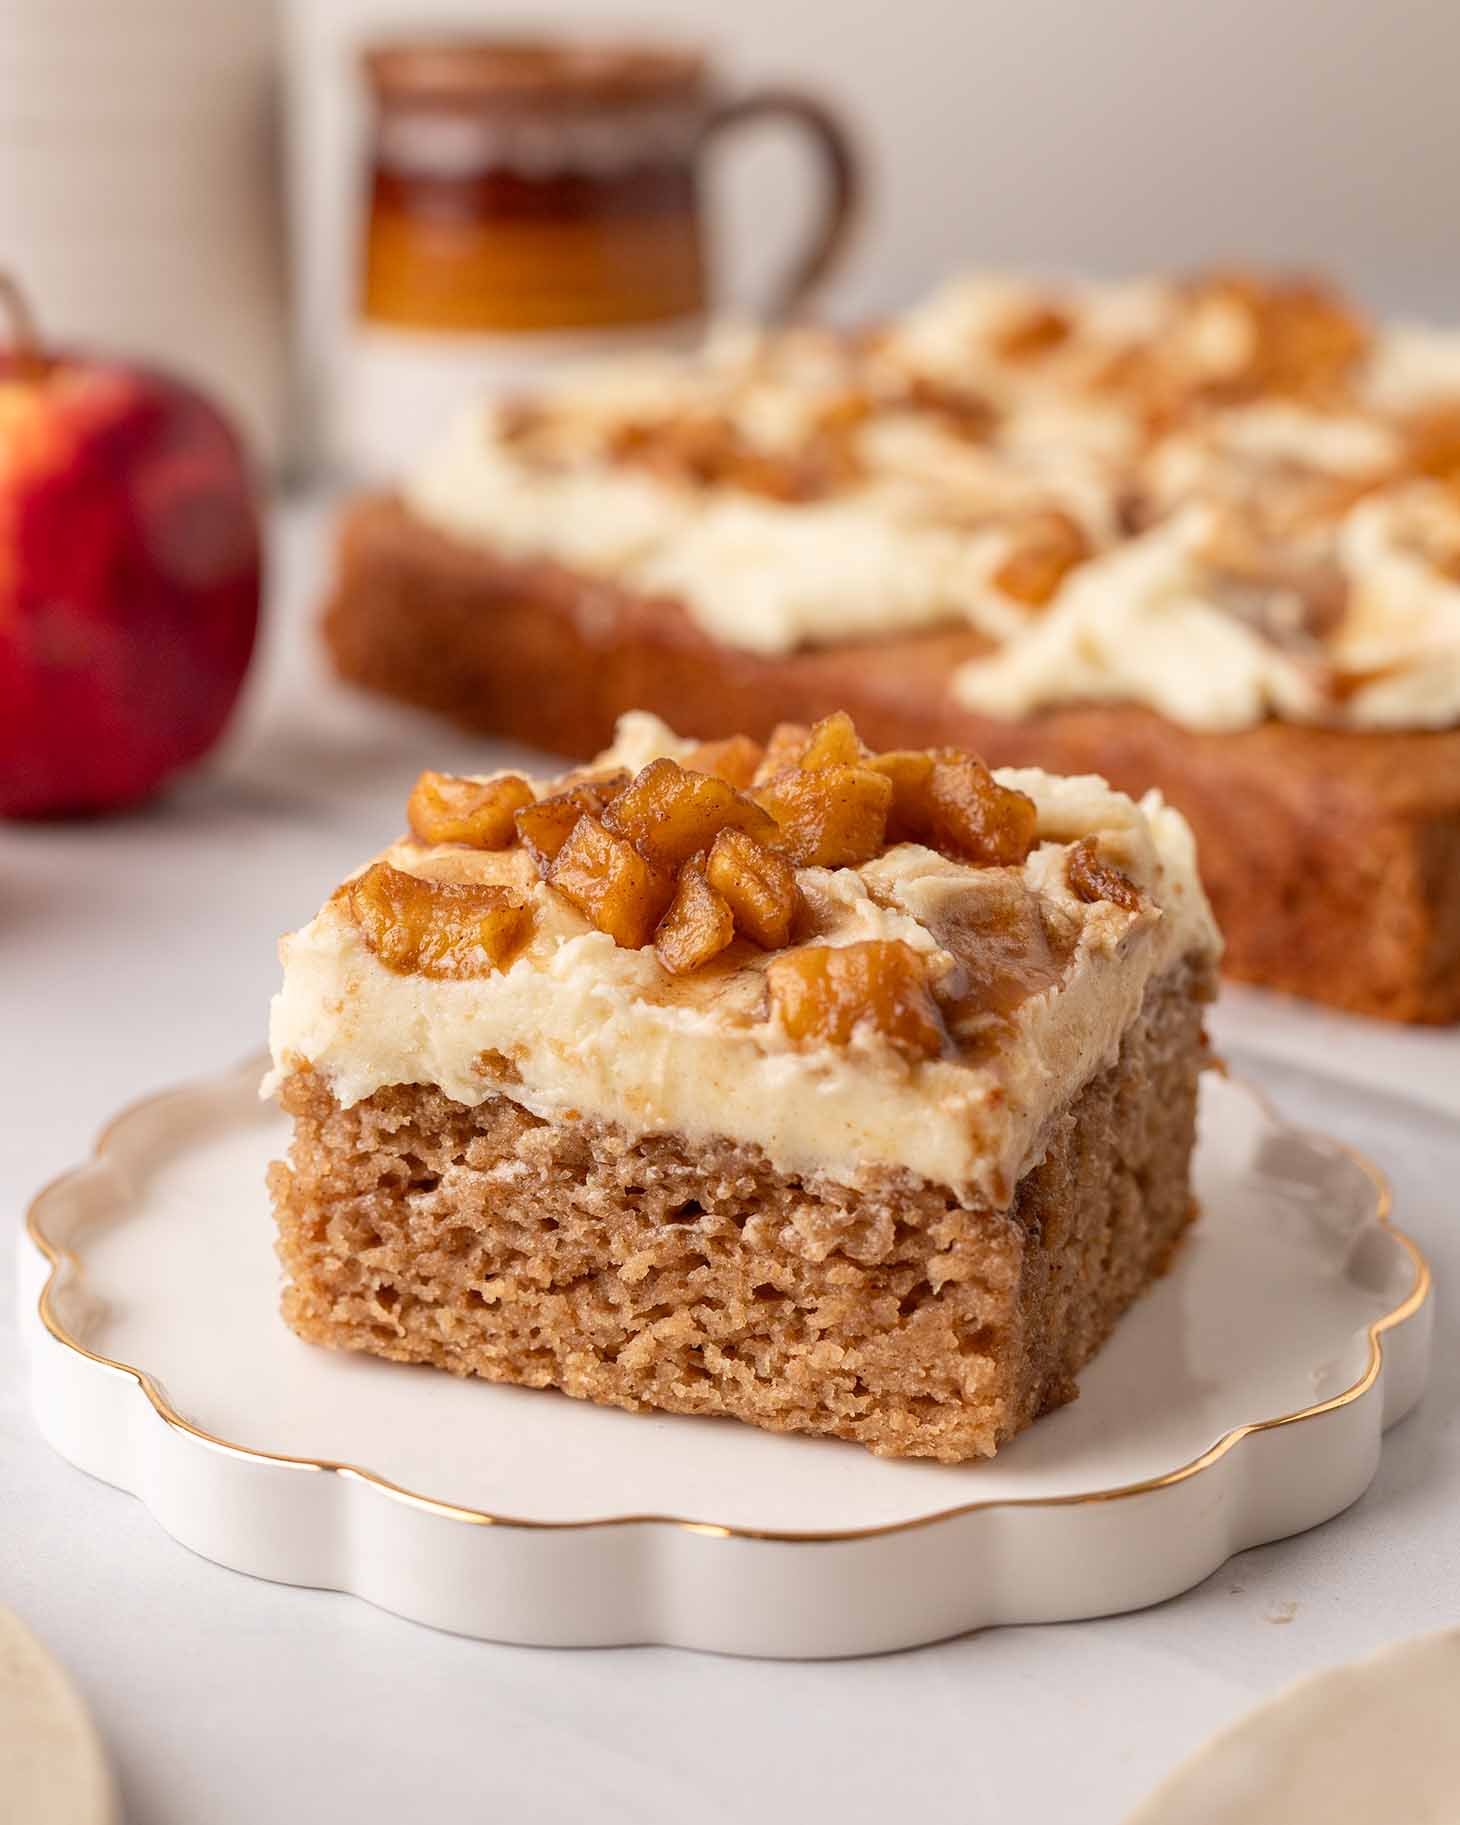
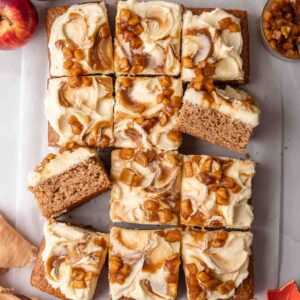
I topped my vegan applesauce cake with a simple vanilla buttercream and extra gooey caramelized apples.
Alternatively, you can top your applesauce cake with:
- Cream cheese frosting
- Your favorite frosting
- Dairy-free yogurt or whipped cream. These won’t support the weight of caramelized apples, so you may want to serve the apples on the side.
- Chopped walnuts or pecans.
- Drizzle of icing. Mix 1 1/2 cups (150g) of powdered sugar and 1/3-1/2 cup of dairy-free milk. Mix in more sugar for a thicker icing or more liquid for a thinner icing. When the cake has completely cooled, drizzle and spread the icing on the cake.
Customizing This Recipe
Yes, this cake works well with King Arthur’s measure-for-measure flour! Other gluten-free flour blends are made with different ingredients so they may provide different results.
I’ve only tested the recipe the way it’s written. From experience, the cake should work with whole wheat flour and spelt flour – you will just need to add extra milk, as those flours are more absorbent.
I have not tested this but you’re welcome to experiment. From experience, this will make the cake denser and a little chewy, but it may be to your taste.
Yes, you can add 1 cup of chopped nuts (pecans or walnuts) or 3/4-1 cup of raisins at the same time as the wet ingredients. You may need to bake the cake for an extra 5 minutes.
For extra warmth, feel free to add even more spices such as 1/4 teaspoon of ground cloves.
I don’t recommend adding chopped apple to the cake itself. Chopped apples release a lot of moisture in the oven and will throw off the recipe’s balance.
Yes, the cake will also bake well in:
– 2 x 8-inch cake tins. Bake for around 30-35 minutes. This will make a 2-layer cake similar to my vegan pumpkin cake.
– 10-cup bundt pan. Bake for around 50-60 minutes.

More Vegan Apple Desserts

Follow Rainbow Nourishments on Instagram, Facebook, TikTok and Pinterest, and subscribe via email to receive all of our latest recipes!
Vegan Applesauce Cake
Ingredients
Dry ingredients
- 3 ¼ cups (405g) all-purpose plain flour, spoon and leveled (notes 1 and 2)
- 1 cup (200g) granulated sugar
- ½ cup (100g) packed brown sugar
- 3 teaspoons baking powder
- 1 teaspoon baking soda
- 2 teaspoons ground cinnamon
- 2 teaspoons ground ginger
- ½ teaspoon allspice, or ground nutmeg
- ½ teaspoon salt
Wet ingredients
- 2 cups (510g) unsweetened applesauce, room temperature (note 3)
- ¾ cup (180g) dairy-free milk, room temperature
- ½ cup (110g) neutral flavored oil
- 2 teaspoons apple cider vinegar, white vinegar or lemon juice, optional
- 1 teaspoon vanilla extract
Buttercream frosting (optional, see note 4 for alternatives)
- 1 cup (225g) vegan block butter, room temperature
- 3-4 cups (360-480g) powdered sugar / icing sugar, to taste or as needed
- 1 teaspoon vanilla extract
- 1-2 tablespoons (15-30g) dairy-free milk, or as needed
To decorate (optional)
- 1 batch caramelized apples, (extra gooey version in note 3 of the recipe card)
Instructions
- Preheat the oven to 350°F (180°C). Grease or line a 9 x 13 inch (23 x 33 cm) baking pan with parchment paper.
Make the vegan applesauce cake:
- Add all the dry ingredients and whisk until thoroughly combined, with no lumps remaining.
- Add all the wet ingredients and stir until just combined. Be sure not to overmix. Some lumps in your cake batter are fine, as long as they aren't lumps of dry flour. The batter will be slightly thick.
- Pour the batter into your prepared pan and smooth the top with a spatula or spoon.
- Bake for 32-38 minutes or until you can insert a toothpick in the center of the cake and it comes out clean. I usually bake the cake for 35 minutes. This is a moist applesauce cake, so it's okay if your toothpick has a few moist crumbs.
- Place the cake pan on a cooling rack and let the cake cool completely.
Make the buttercream frosting:
- Add the vegan butter to a large bowl or the bowl of a stand mixer with the paddle attachment. Beat until light and fluffy. Add the powdered sugar and vanilla and beat until just combined. Add more sugar for a firmer frosting or more milk for a softer frosting.
Decorating the applesauce cake:
- When the cake is completely cooled, spread the frosting on the cake. If desired, swirl the caramel from the caramelized apples into the frosting, then dot with the apples. Cut into slices or as desired.
- Store leftover cake in an airtight container at room temperature for up to 1 day in the fridge for up to 3 days or in the freezer for up to 1 month.
Notes
- Make sure you measure the flour accurately otherwise, your cake will be dry and dense. If you’re using measuring cups, use the spoon and level method where you fluff up the flour in the bag, use a spoon to add flour to a measuring cup, then level it off with a knife. I don’t recommend using the measuring cup to scoop flour out of your container, as this will add too much flour to the cake and make it dense. For the best results, use a digital kitchen scale and the gram measurements.
- This cake works well with King Arthur’s Measure for Measure flour. However, I recommend baking it for an extra 5-7 minutes.
- Please ensure your applesauce and milk are at room temperature, otherwise your batter won’t emulsify well.
- Alternatively, you can top the cake with the vegan cream cheese frosting from my banana cake recipe. A few other options are listed in the blog post.
This post may contain affiliate links. As an Amazon Associate, I may earn a small commission from qualifying purchases at no additional cost to you.

Your recipes are amazing! Being vegan is easy when it tastes this good. Just a quick question, have you tried any recipes with Stevie or monk fruit? Id like to substitute refined sugar.
Thank you😊
Hi Heather, thank you so much for your support! I haven’t tested this recipe with granulated stevia, but I have tested my banana bread with a granulated erythritol and stevia blend – it works well, but the banana bread just has a different flavor profile and is a tad drier. It’ll probably be the same for this applesauce cake recipe. Hope that helps!
I make this in a 9 x 13 glass baking dish?
And if so, what would the baking time be?
Hi Tracey, I haven’t tested this recipe in a glass dish so I’m not 100% sure. But, from experience, you’ll need to reduce the temperature by 25°F (5°C) and increase the bake time by about 5-10 minutes, but definitely check for doneness first. Hope that helps!
Ohhh… I know I am asking too many questions😆. But for clarity, could you please tell me why you’re adding two types of sugar? Won’t it make the cake too sweet? Is there any reason to add both granulated sugar and brown sugar?
Hi Schweta, not at all! The ‘Simple Ingredients You’ll Need’ section in the post explains why two sugars were used in this recipe. This is a very large cake and the overall amount of sugar is just right for the amount of flour used. If you prefer less sweet desserts, feel free to reduce the amount of sugar to taste, although it’ll make the cake a bit drier. Hope that helps!
It’s truly wonderful!! My kids love it. I followed the recipe exactly and it turned out fluffy and moist.
Hi Olga! Aw, we’re thrilled to hear that you and the kids loved this cake! Thank you for sharing 😊
Hello Anthea, I left a comment. I don’t see it. It somehow disappeared. I don’t know how—I just wanted to ask if homemade apple sauce will work. Like, does store-bought sauce have extra ingredients in it? Again, if I make the sauce at home, which apples should I use?
Hi Shweta, all comments go through a moderation process and need to be approved first! Homemade applesauce will work for this recipe (see my below comment). Some store-bought applesauce have sugar added but I recommend using an unsweetened applesauce in this recipe. I linked to one below. Hope that helps!
Ok no worries. thanks a lot!
Hello Anthea, can I make applesauce at home? If so, which apples should I use?
Hi Shweta, yes you can. I don’t have a recipe for applesauce on my website but here’s one by The Virtual Vegan – I would just omit the cinnamon.
Thanks a bunch, Anthea! Will definitely check out the applesauce recipe.
This is why i never follow recepies. Turned out way to dense.
Hi. Sorry to hear that this can didn’t turn out for you like it did for others. Our team tested this recipe more than 4 times to ensure it has a soft, moist texture if the recipe is followed properly.. Overmixing the batter or mismeasuring ingredients can sometimes result in a denser cake, particularly when using cups rather than weighing the ingredients.